If you are looking for a way to enhance your natural lashes, you may have heard of UV lashes, a new technology that uses UV light to cure the glue for eyelash extensions. But what are UV lashes, how do they work, and what are the benefits of this innovative technique? In this blog post, we will answer these questions and more, so you can decide if UV lashes are right for you.
What are UV lashes?
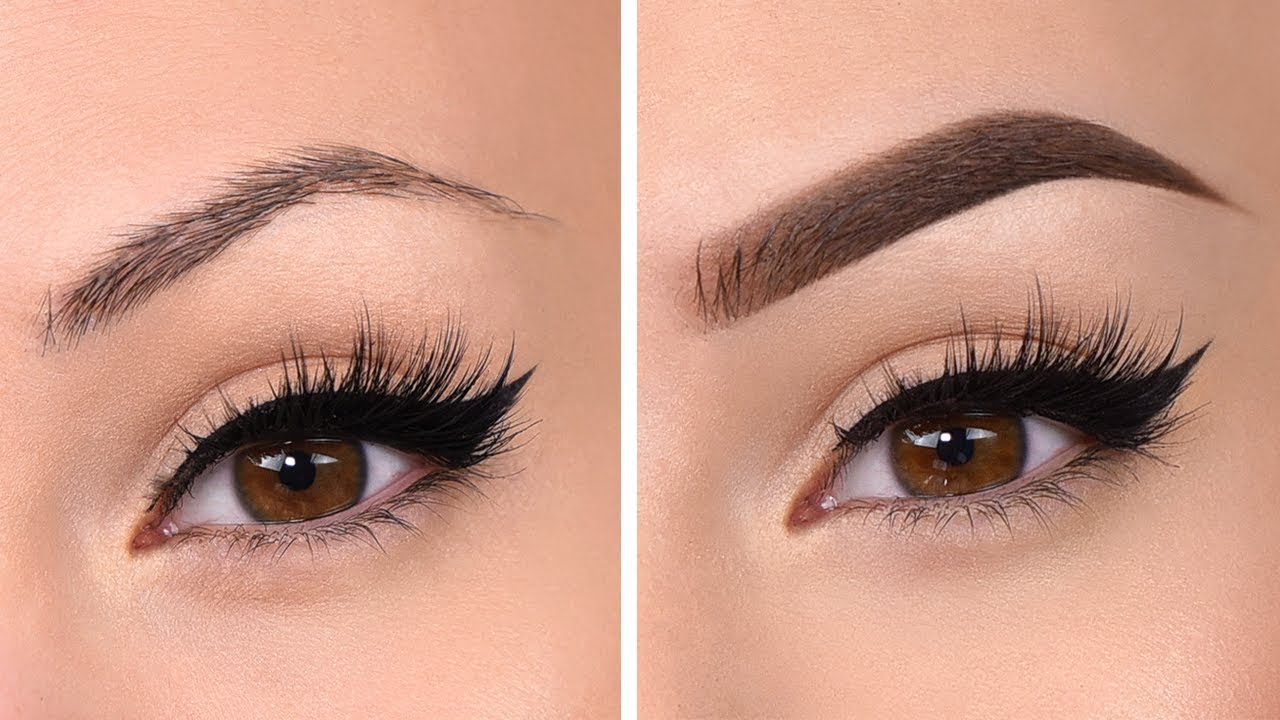
UV lashes refer to a specific technique of applying eyelash extensions. The basics are all pretty much the same as traditional lashes – you’ll map out the extensions, dip them into the adhesive, and place them on individual natural lashes. One key difference is that the adhesive can’t dry on its own – it’ll require a UV light to set.
One huge benefit of this is that the lash extensions will be firmer due to instant curing from the UV light. On top of that, there’s much less mess involved since it takes very little adhesive for the lash to stick.
How do UV lashes work?
The concept of a UV adhesive isn’t all that new – it’s been used so far to weld plastic and other harsher materials. In the beauty world, it has had its applications in creating nail sets – anyone who’s ever gotten their nails done will remember putting their hand into a UV lamp. The technology is very similar here.
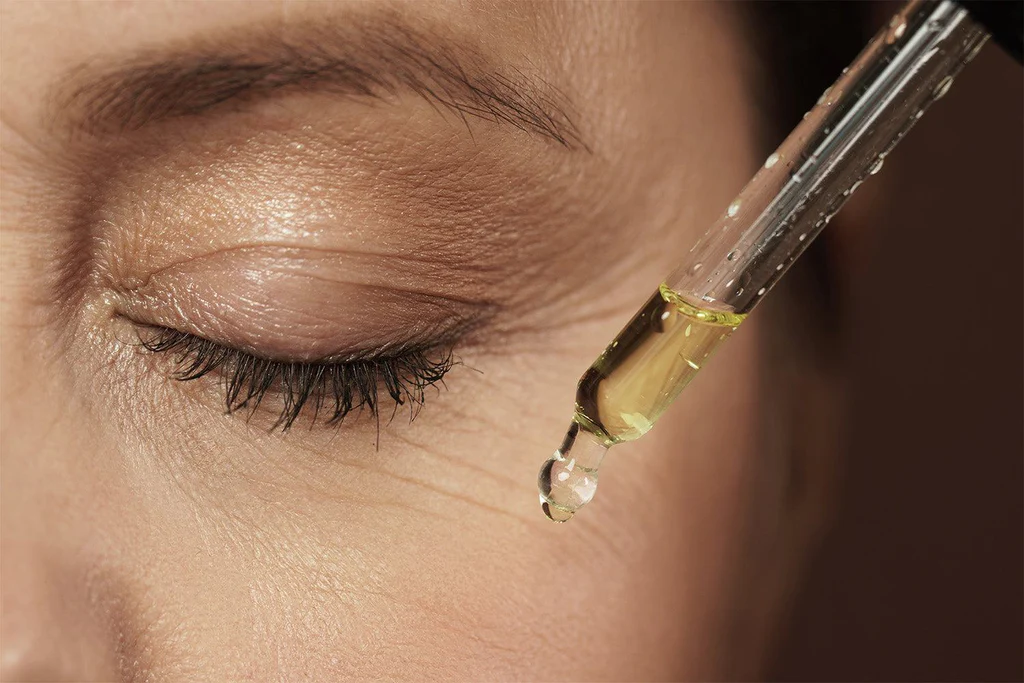
This adhesive isn’t really an adhesive per se, it’s actually a polymer. This means that it will not cure until it’s exposed to UV light, so there’s no risk of premature curing. The UV light wavelengths cause a photochemical reaction which then causes a change in the polymer’s chemical properties. This means that the polymers harden almost instantly, and the adhesive is set in no time.
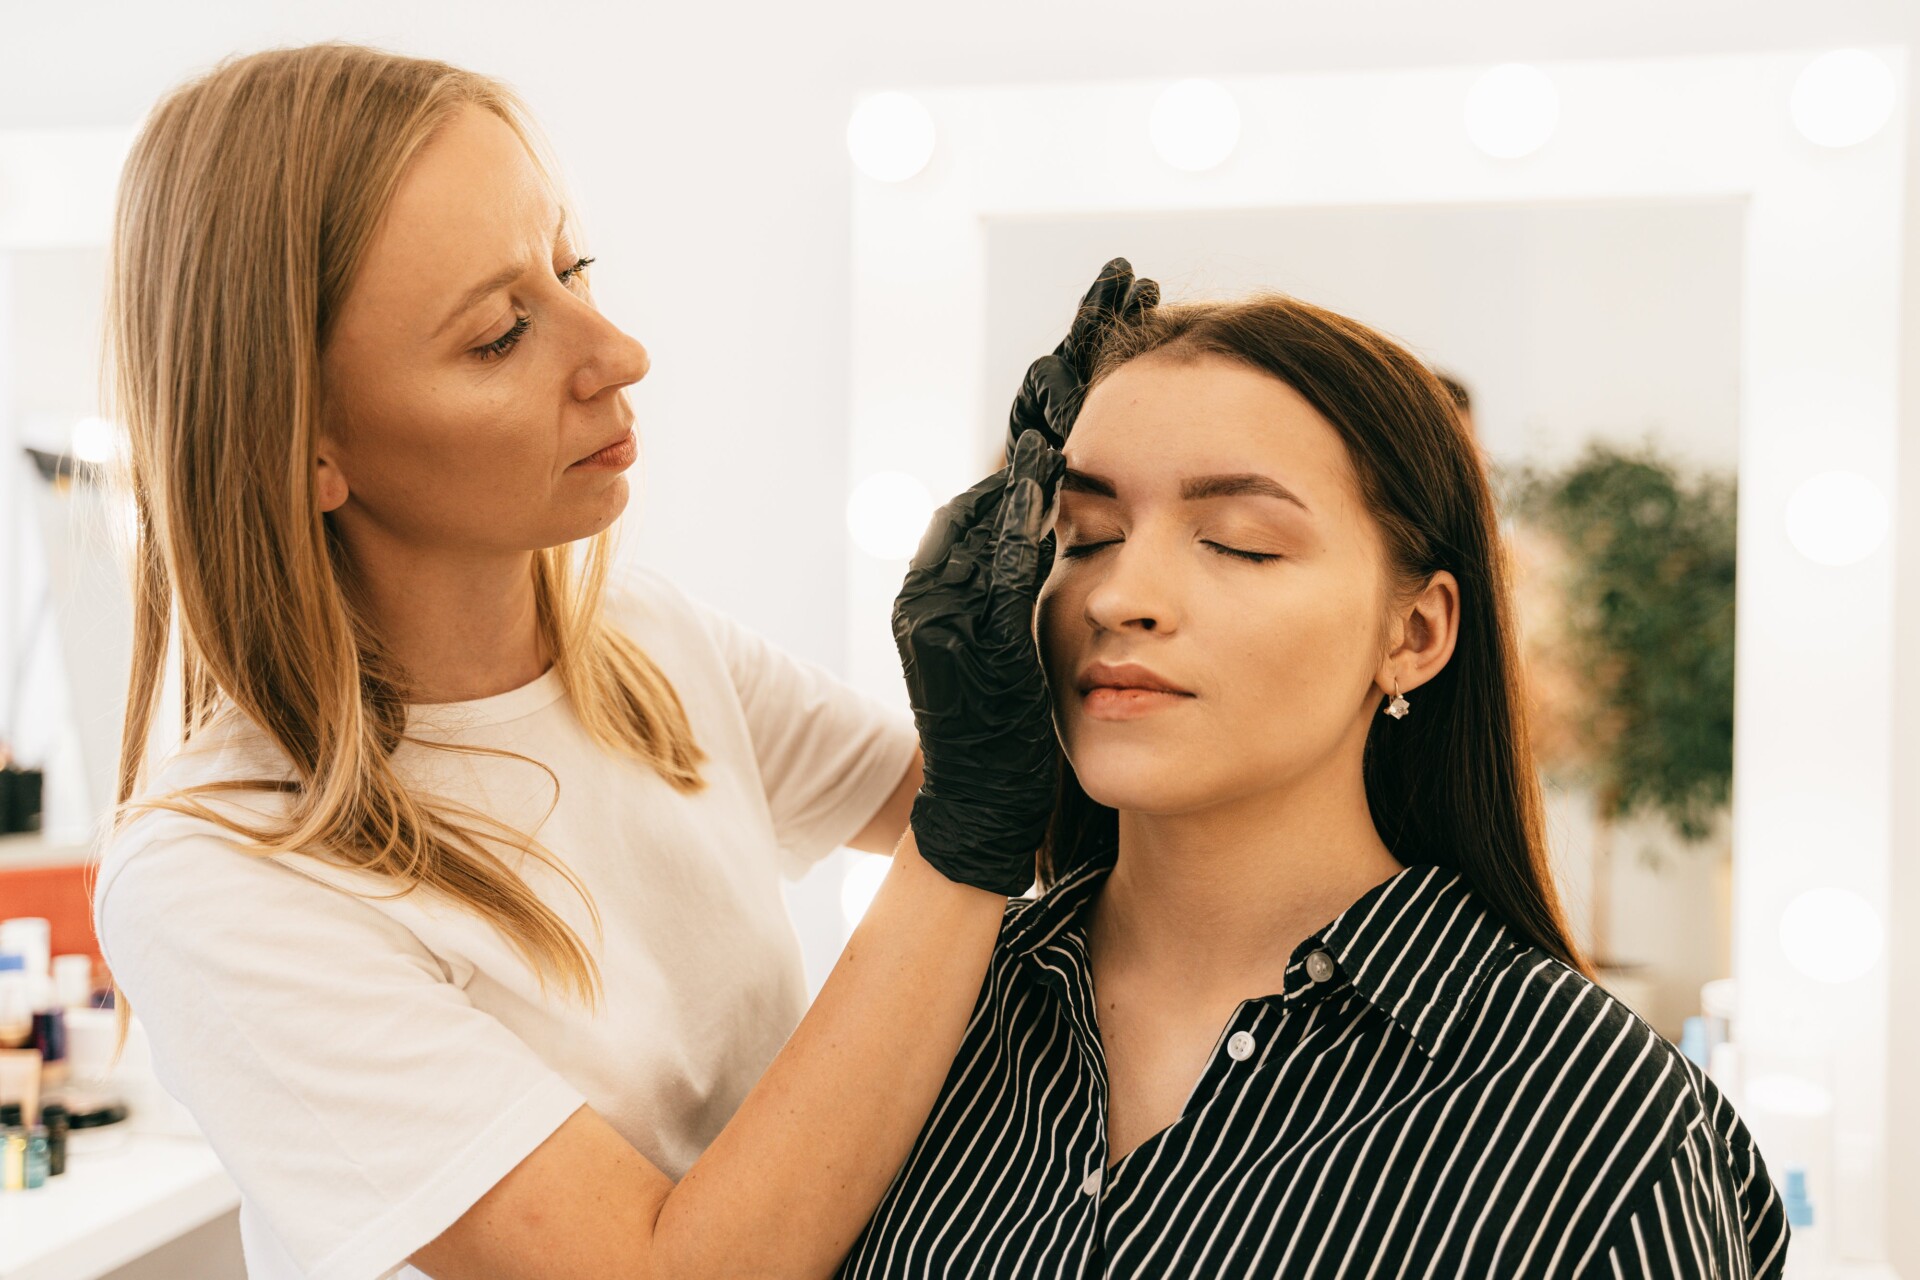
Is a UV lash system safe?
So far, there have been absolutely no indications that UV lash glue is in any way harmful to the lash, the eye, or the skin. The same precautions you usually take to prevent the glue from wandering from its designated spot will do. When it’s time to remove the lashes, there are specialized removers available that will make the process super simple. Those same products can be used in case a little bit of glue accidentally winds up curing on the client’s face.
Still, it’s best to avoid that scenario by making sure that the glue only goes where it’s supposed to, and checking if it has before turning on the lamp. The lamp head should be about 10 -15cm away from the natural lashes and the glue dot should be in the center of the light cone. You should also make sure that neither you nor the customer look directly into the light, and wear UV safety glasses for extra protection.
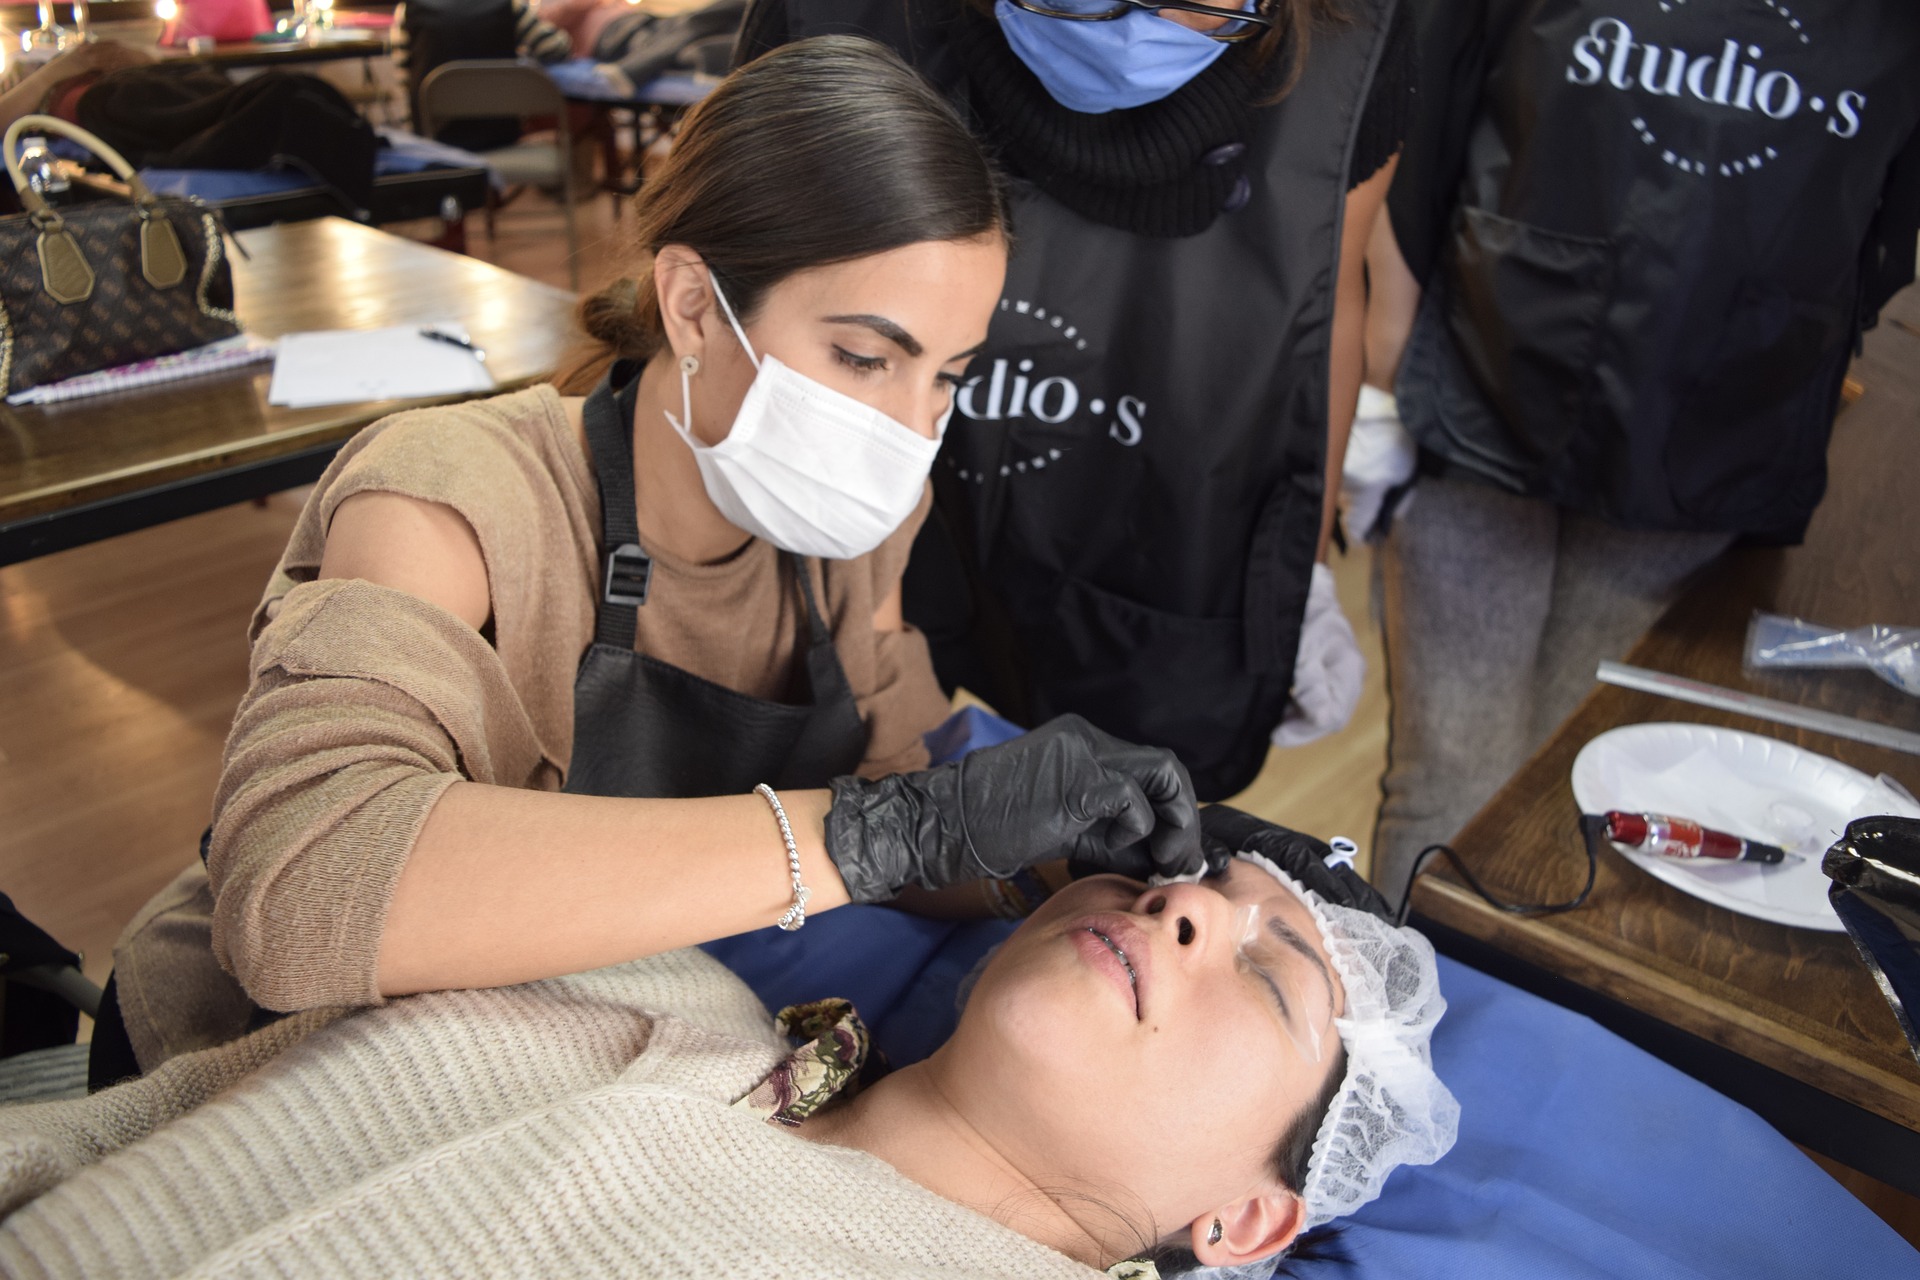
How to apply UV lash extensions
The process of applying UV lash extensions will look pretty much the same as your other lash appointments. The difference will be in a step that’s added – using the light. Here are the steps to follow:
- Cleanse the natural lashes and apply eye pads and tape to protect the lower lashes and the skin.
- Map out the extensions according to the desired style and length.
- Pick up an extension with your tweezers and dip the base into the adhesive. Use a minimal amount of glue, as a little goes a long way with this technique.
- Place the extension on a natural lash, about 1-2mm away from the lash line. Make sure the extension is aligned and not twisted.
- Repeat steps 3 and 4 until you have applied extensions to all the natural lashes on one eye.
- Turn on the UV lamp and position it over the eye. The lamp should be about 10-15cm away from the lashes and the glue dot should be in the center of the light cone. Press the foot pedal to initiate the UV light and hold it for 1-3 seconds. This will cure the glue and set the extensions.
- Turn off the lamp and check the lashes for any stickies or gaps. If needed, use a remover to separate any stickies or apply more extensions to fill in any gaps. Then, cure the lashes again with the UV light.
- Repeat steps 2 to 7 for the other eye.
- Brush the lashes and remove any excess glue or remover with a cotton swab.
- Apply a lash sealant to protect the lashes and enhance the shine.
- Remove the eye pads and tape and let the customer admire their new lashes.
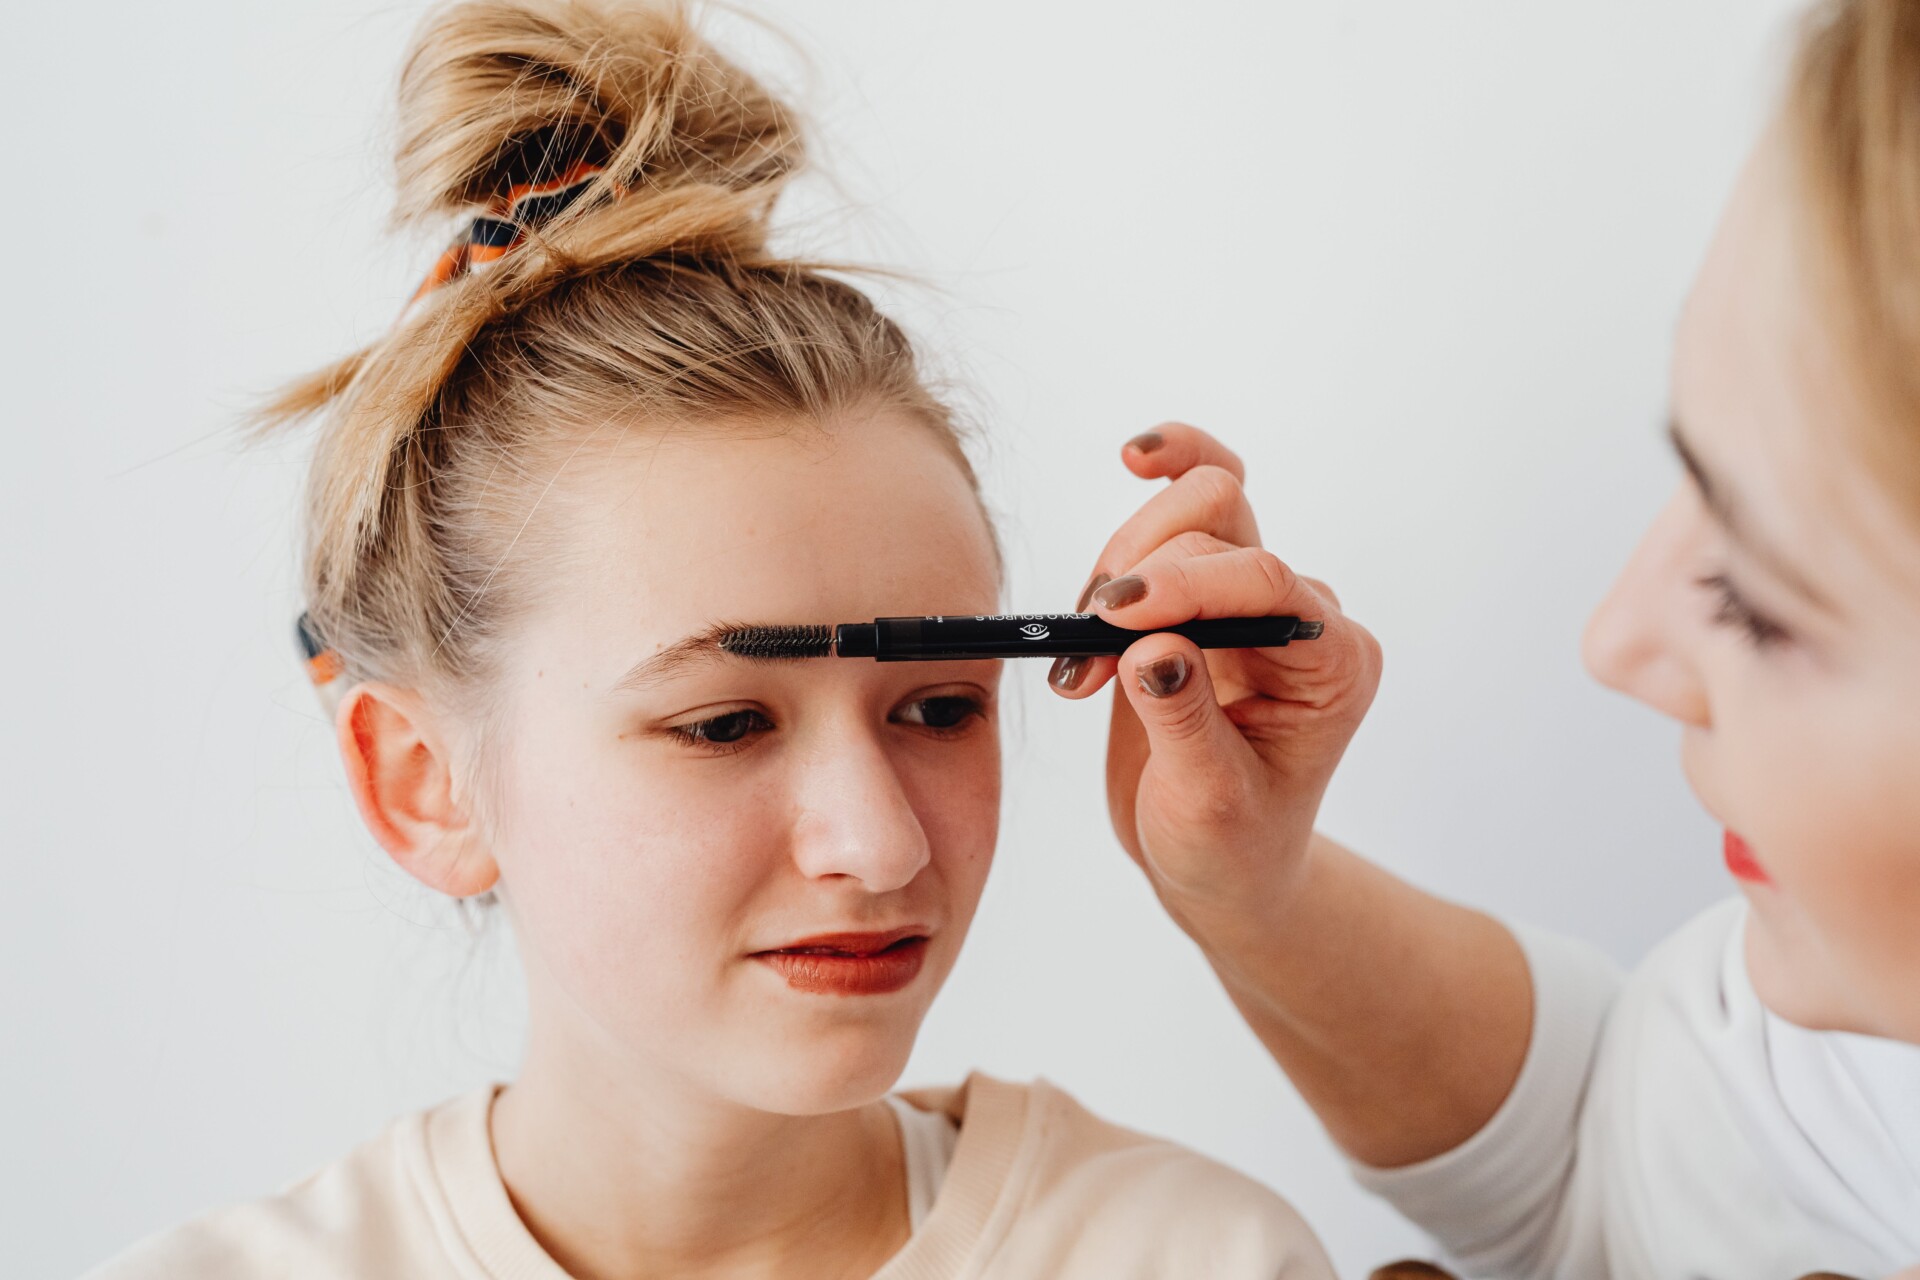
What are the benefits of UV lashes?
UV lashes have many advantages over traditional lashes, such as:
- Instant curing: The UV light sets the glue in seconds, so there is no need to wait for the glue to dry or use a nano mister. This also means that the lashes are more durable and less prone to fall off.
- Less mess: The UV glue requires very little amount to stick, so there is less chance of glue getting on the skin or the eye pads. This also makes the removal process easier and faster.
- Less irritation: The UV glue emits less fumes than conventional glue, so it is more suitable for sensitive eyes and clients who are allergic to cyanoacrylate. The UV light also kills any bacteria or germs that may be present on the lashes or the glue, reducing the risk of infection or inflammation.
- More flexibility: The UV glue does not cure until it is exposed to the UV light, so you have more time to adjust the placement and alignment of the extensions. You can also work with any technique, such as classic, volume, or mega volume, and any type of lashes, such as mink, silk, cashmere, or flat lashes.
FAQs about UV lashes
Here are some common questions and answers about UV lashes that you or your clients may have:
- Q: How long do UV lashes last?
- A: UV lashes can last up to 6-8 weeks, depending on the natural lash cycle and the aftercare. They may even last longer than traditional lashes, as the glue is more resistant to water, oil, and sweat.
- Q: How do I take care of my UV lashes?
- A: The aftercare for UV lashes is similar to that of traditional lashes. You should avoid rubbing, pulling, or touching your lashes, and use oil-free products around your eyes. You should also avoid exposing your lashes to extreme heat, such as sauna, steam, or blow dryer, as this may weaken the glue. You should also brush your lashes daily with a clean spoolie and cleanse them with a lash shampoo at least twice a week.
- Q: How do I remove my UV lashes?
- A: You should never attempt to remove your UV lashes by yourself, as this may damage your natural lashes. You should always go to a professional lash technician who will use a special remover to dissolve the glue and gently slide off the extensions.
- Q: Are UV lashes safe for pregnant or breastfeeding women?
- A: There is no evidence that UV lashes are harmful to pregnant or breastfeeding women, as the UV light does not penetrate the skin or affect the hormones. However, you should always consult your doctor before getting any beauty treatment, as your body may react differently during pregnancy or lactation.
- Q: How much do UV lashes cost?
- A: The cost of UV lashes may vary depending on the location, the experience of the lash technician, and the style and length of the lashes. Generally, UV lashes are more expensive than traditional lashes, as they require more equipment and training. However, they may also be more cost-effective in the long run, as they last longer and require less maintenance.
Conclusion
UV lashes are a revolutionary technique for eyelash extensions that use UV light to cure the glue. They offer many benefits, such as instant curing, less mess, less irritation, more flexibility, and longer durability. They are also safe and suitable for most clients, as long as they follow the proper application and aftercare instructions. If you are interested in trying UV lashes, you can find a certified lash technician near you or contact us for more information. We hope you enjoyed this blog post and learned something new about UV lashes. Thank you for reading and happy lashing!
 By
Your Beauty Plug
By
Your Beauty Plug