 By
Your Beauty Plug
By
Your Beauty Plug
Properly applying eyelash adhesive is crucial for achieving a flawless and long-lasting lash look. The right technique ensures that your false lashes stay in place throughout the day without any discomfort or embarrassing mishaps. One of the key reasons for applying eyelash adhesive correctly is to ensure a strong hold. This is where investing in a high-quality adhesive like the i-Envy Super Strong Hold Eyelash Adhesive (ASIN: B00RH8W9KW) comes in handy. Its impressive 48-hour hold ensures that your lashes stay put, giving you the confidence to rock your falsies all day long. By applying the adhesive evenly along the lash band and waiting for it to become tacky, you create a solid bond that keeps your lashes securely in place.
While proper application is essential, it’s also important to be aware of common mistakes to avoid when using eyelash adhesive. One common mistake is applying too much adhesive. Using too much glue can result in a messy application and may cause your lashes to feel heavy and uncomfortable. It’s best to apply a thin, even layer of adhesive along the lash band for a seamless and comfortable fit. Another mistake to avoid is not waiting for the adhesive to become tacky before applying the lashes. The Eylure 18 Hour Lash Glue (ASIN: B0861995HL) solves this problem by offering a quick-drying formula, allowing for efficient application without the need to wait. By giving the adhesive a few seconds to become tacky, you ensure a stronger bond and better adherence of the lashes.

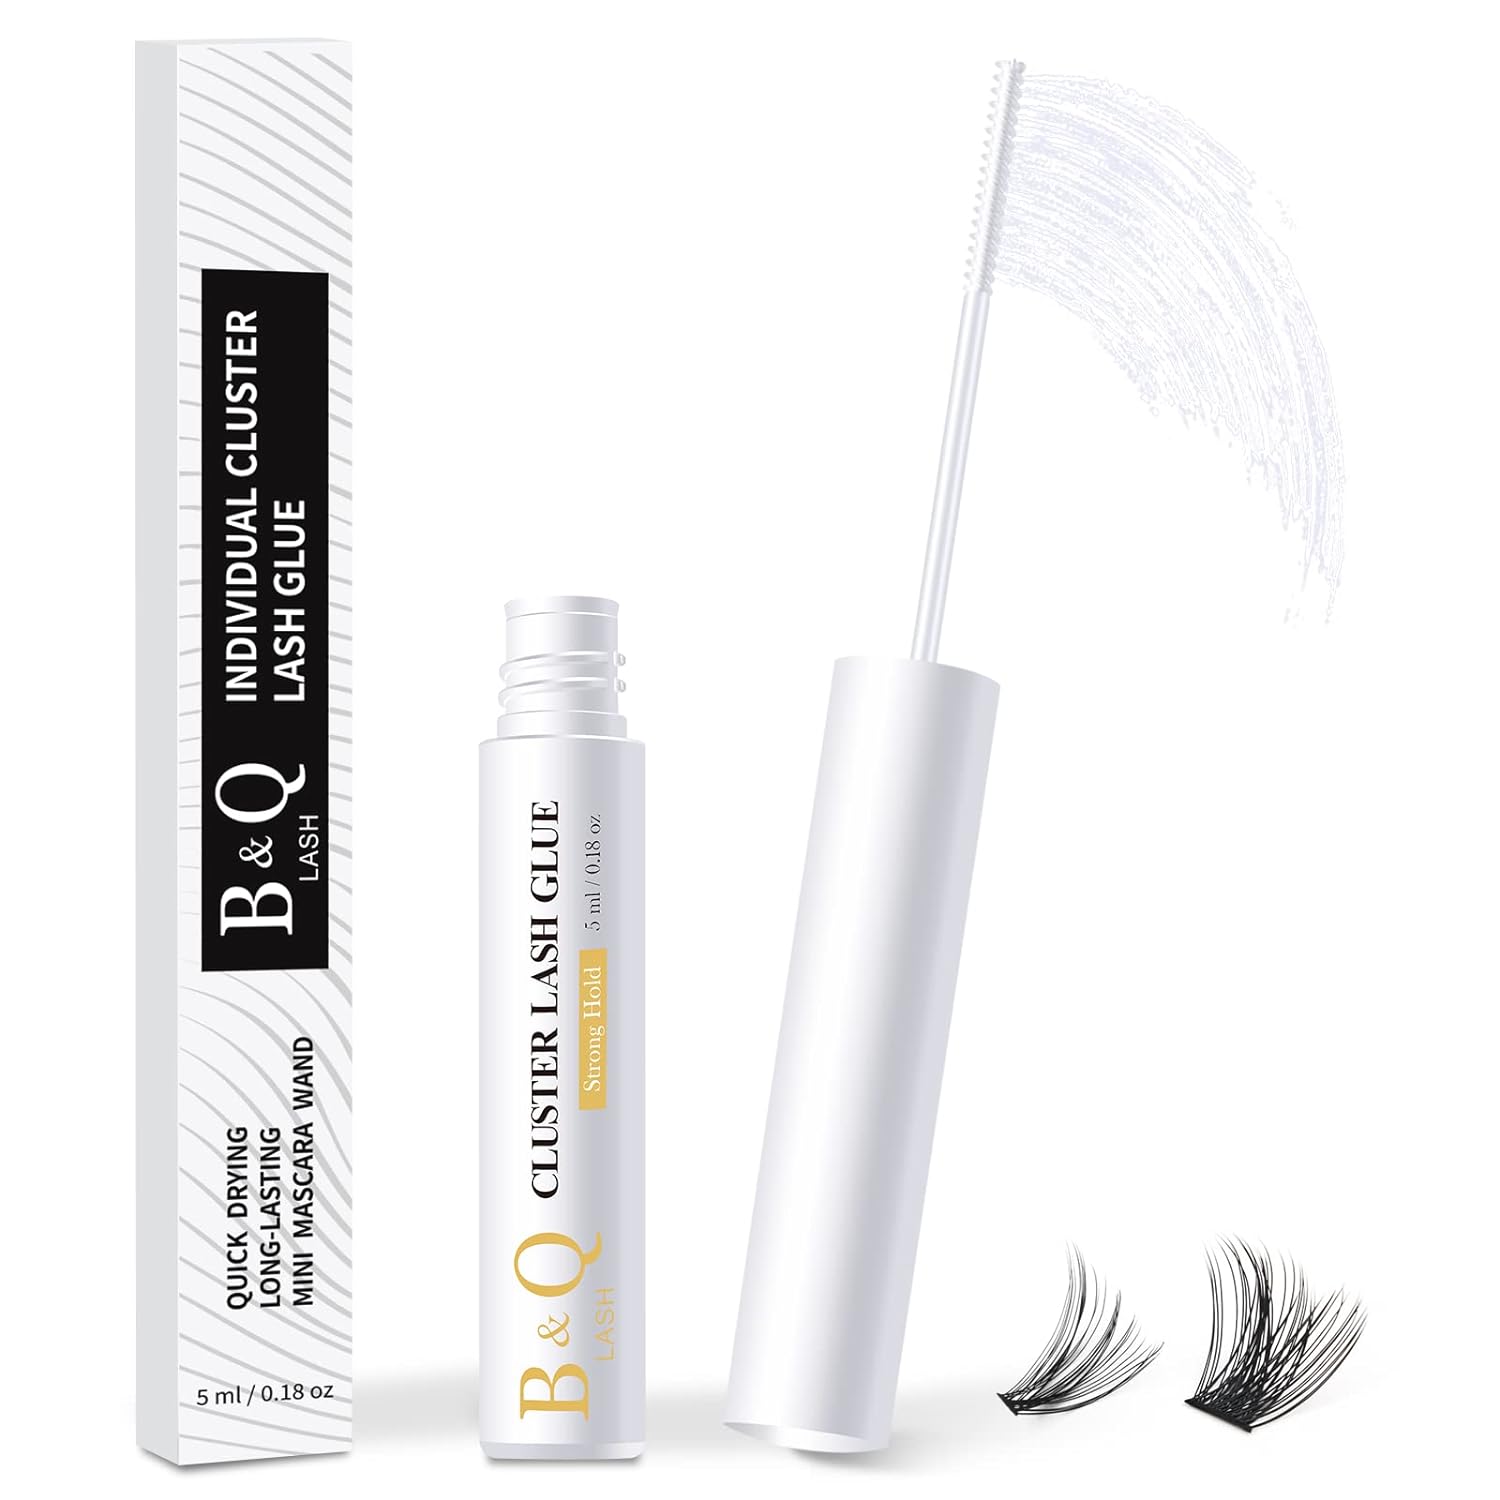
When it comes to eyelash adhesive, there are several different types to choose from. One popular option is the traditional strip lash adhesive. This type of adhesive is applied directly onto the lash band and allows for easy application and removal of strip lashes. Another type is individual lash adhesive, which is designed specifically for applying individual lashes or lash clusters. This adhesive is typically a bit stronger and provides a longer-lasting hold. Additionally, there are also magnetic lash adhesives available, which use magnets to hold the lashes in place without the need for glue. These adhesives are great for those who struggle with traditional glue application or have sensitivities to lash adhesive.
Choosing the right eyelash adhesive is essential for achieving a flawless lash look. One important factor to consider is the duration of wear. If you’re looking for a temporary lash look for a special occasion, a standard lash adhesive with a shorter wear time may be sufficient. However, if you want your lashes to stay put for an extended period, opt for a long-lasting adhesive like the Eylure 18 Hour Lash Glue (ASIN: B0861995HL). Another factor to consider is the formula of the adhesive. Look for adhesives that are latex-free and formaldehyde-free, especially if you have sensitivities or allergies. It’s also important to consider the ease of application. Adhesives with precision control tips or applicators can make the process much smoother and more manageable.
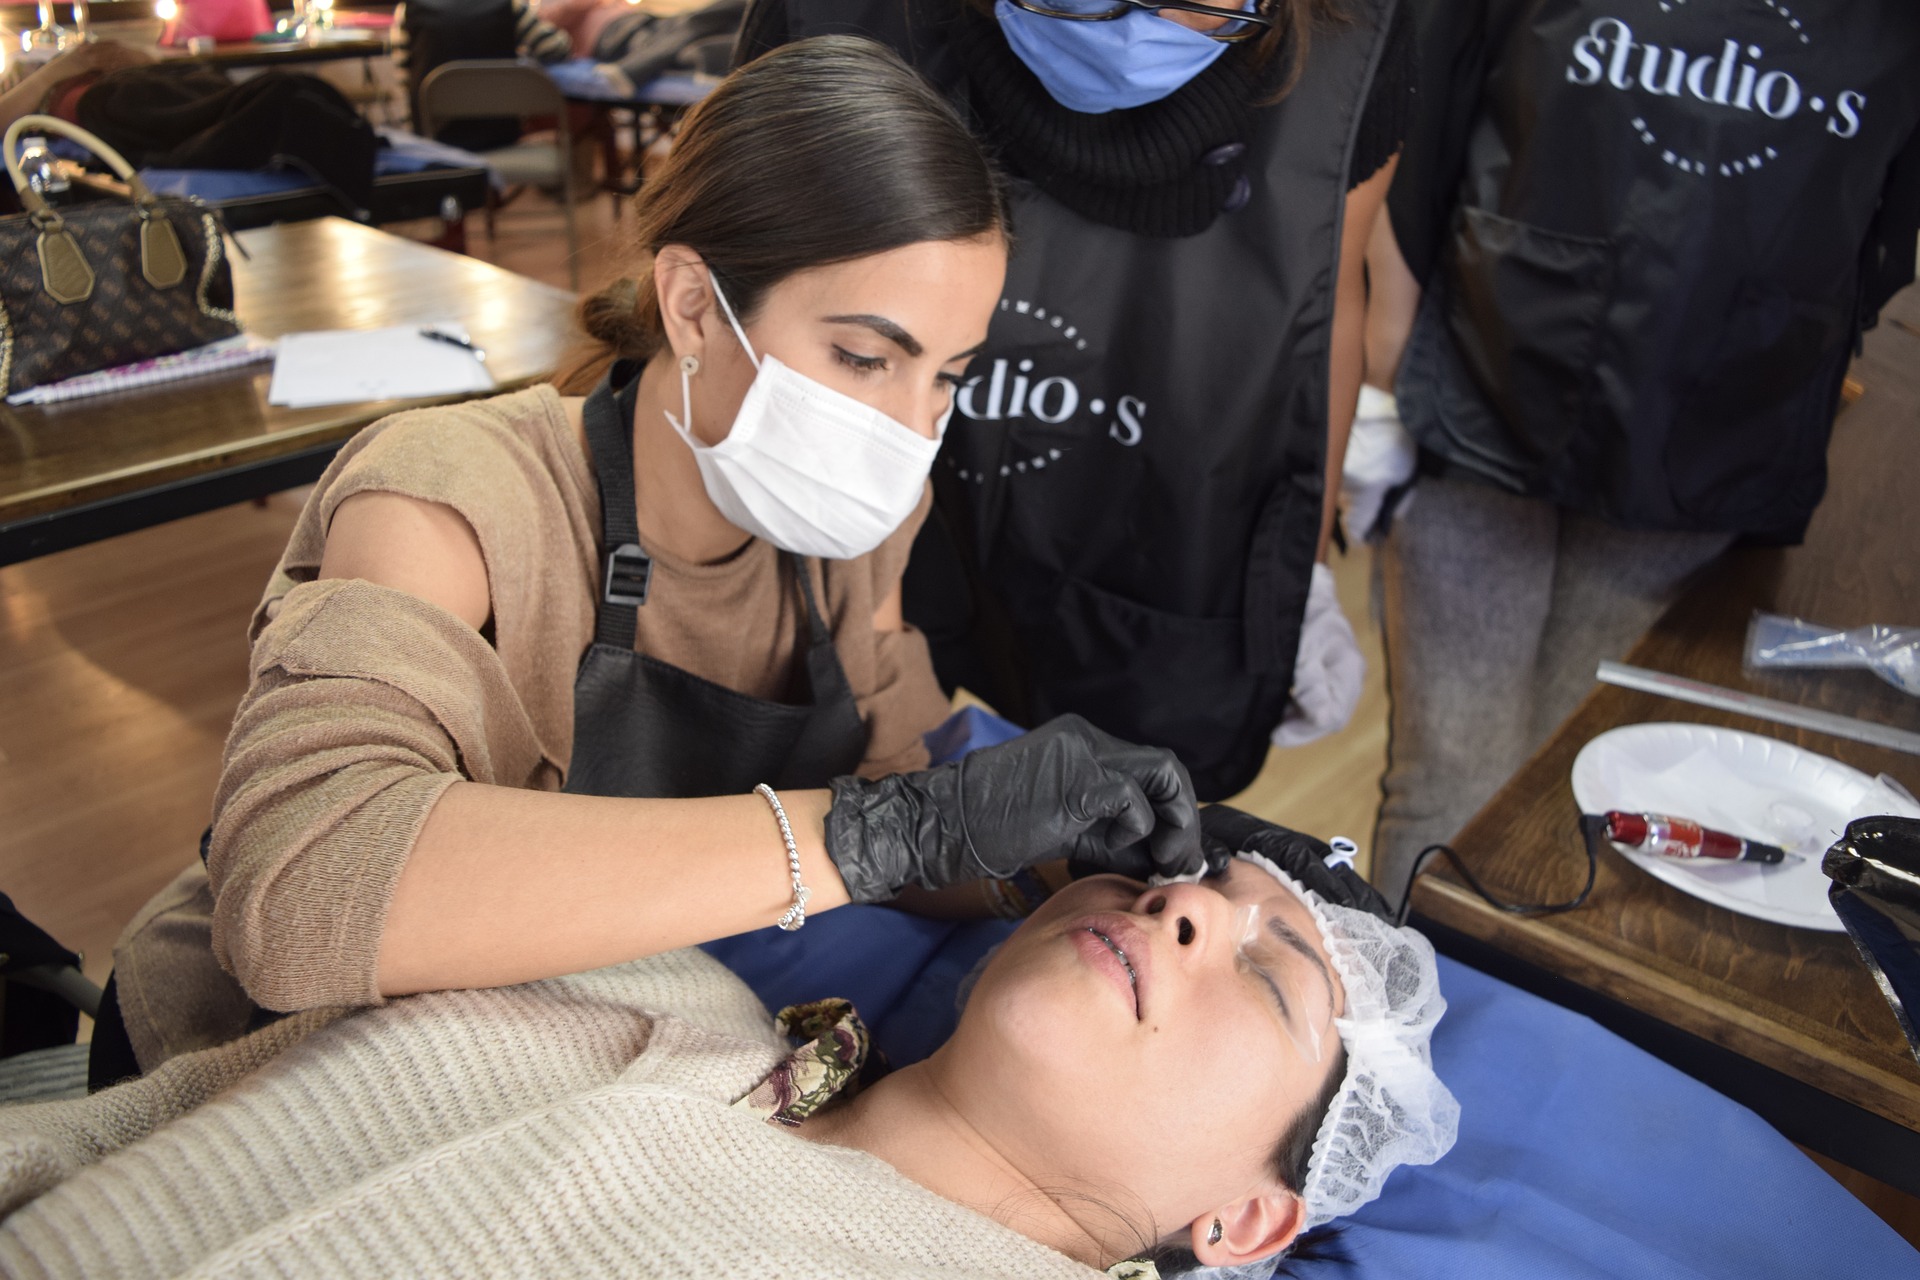
Properly cleaning your eyelashes and removing any makeup residue is crucial before applying eyelash adhesive. Start by using a gentle eye makeup remover to wipe away any mascara or eyeshadow. Make sure to cleanse the lash line thoroughly to ensure optimal adhesion. Avoid using oil-based makeup removers as they can interfere with the adhesive’s effectiveness. After removing the makeup, gently cleanse your lashes with a mild cleanser or foam to eliminate any remaining dirt or oils. Pat them dry with a clean towel before proceeding with the application of eyelash adhesive.
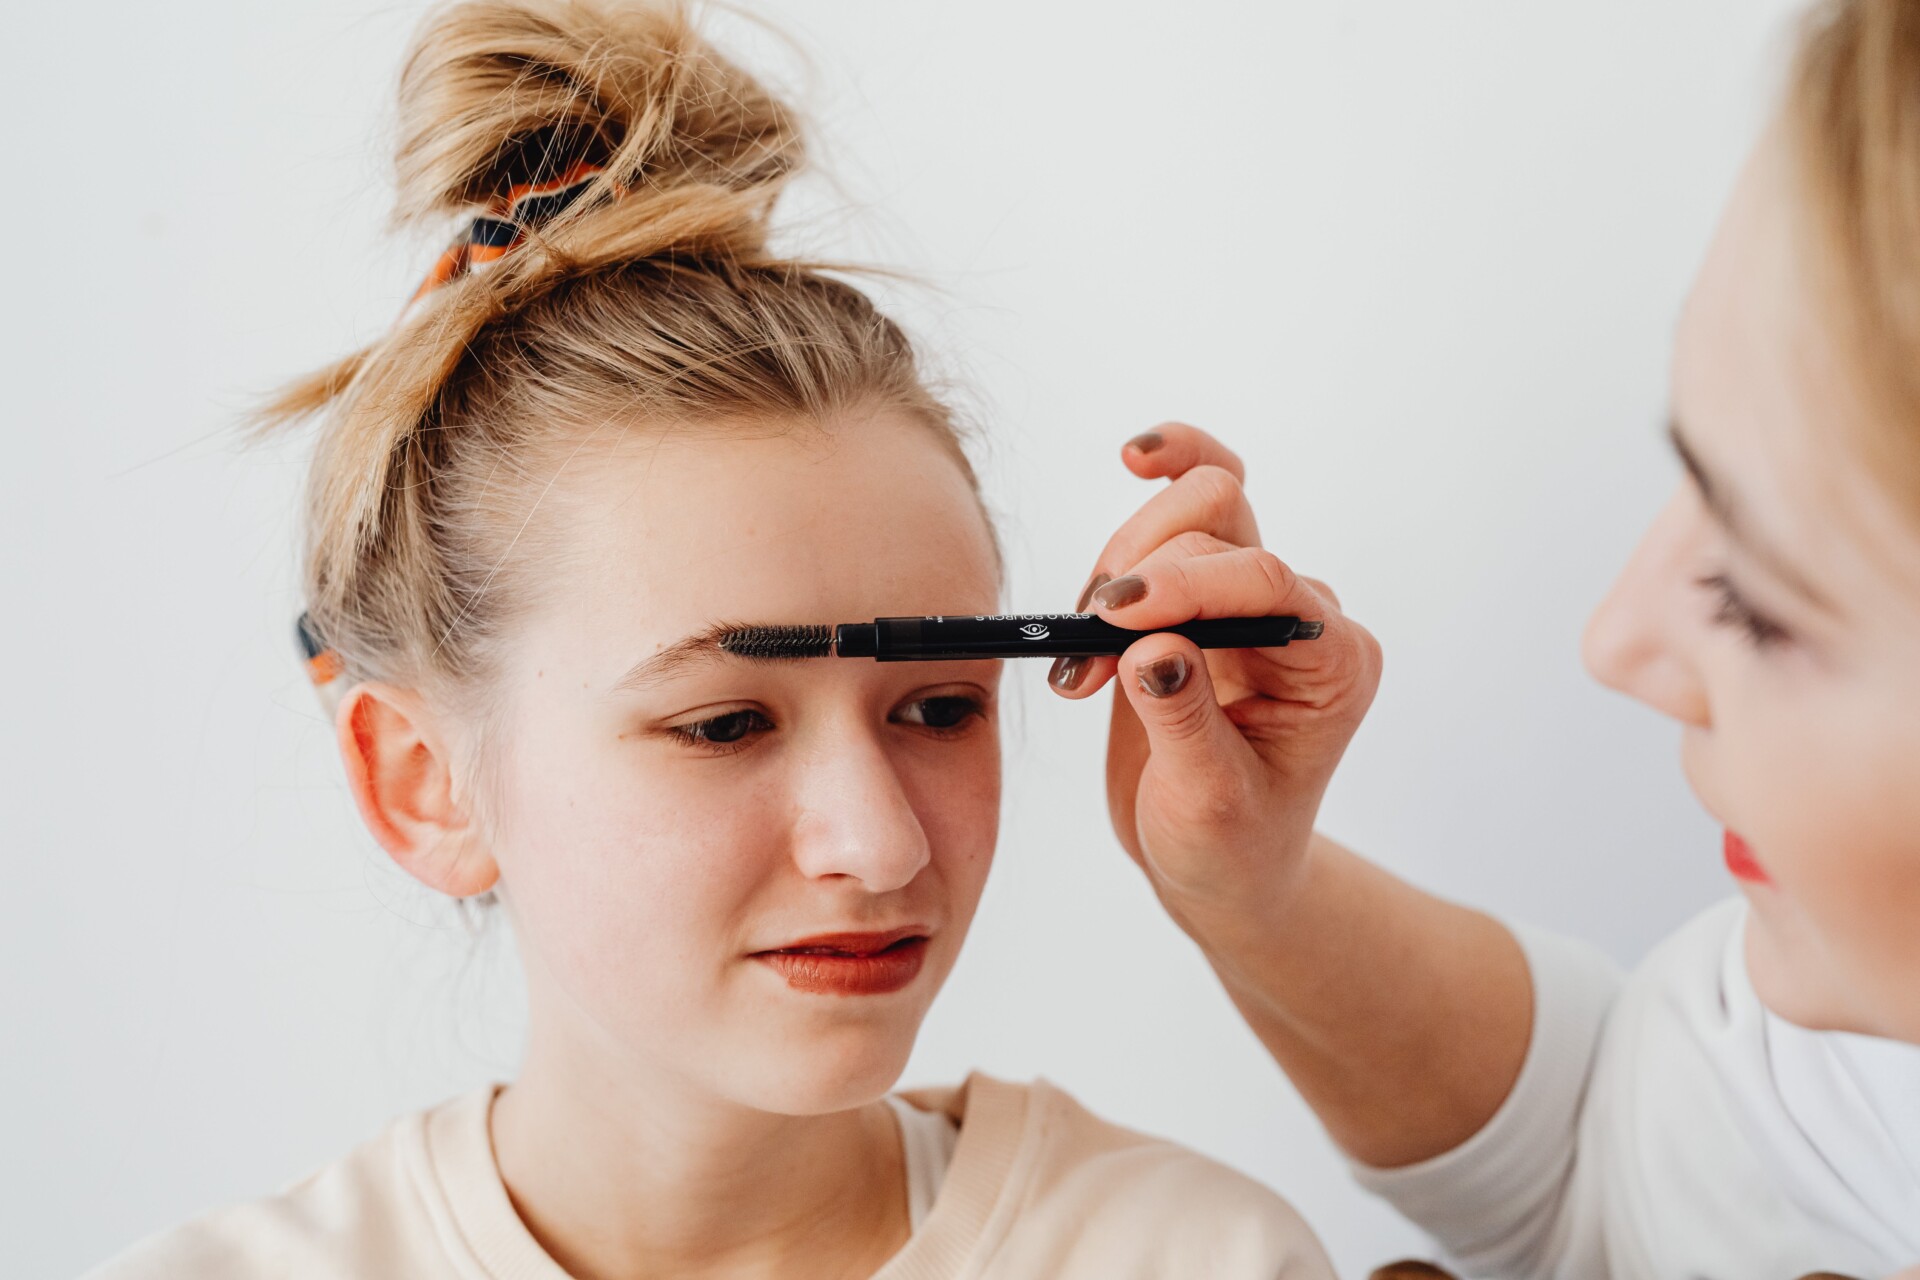
Achieving a natural and seamless look with false eyelashes requires proper trimming and curling of your natural lashes. Before applying the adhesive, hold the false lash strip against your eyelid and measure it against your lash line. Trim any excess length from the outer edge to ensure a comfortable fit. Be careful not to trim too much, as you want the lashes to blend seamlessly with your natural ones. Additionally, curl your natural lashes with an eyelash curler to create a uniform base for the false lashes. This step will help the false lashes adhere better and prevent any noticeable gaps between the two sets of lashes.

When it comes to applying eyelash adhesive on false lashes, precision is key. Start by applying a thin layer of the adhesive directly onto the lash band. Use a toothpick or a small brush to ensure an even distribution of the adhesive. Wait for about 30 seconds to let the adhesive become tacky. This step is crucial as it helps the lashes adhere properly to your natural lashes.
To ensure a seamless application of false lashes, it’s important to apply the adhesive on your natural lashes properly. Start by curling your natural lashes and applying a coat of mascara. This will provide a good base for the adhesive to adhere to. Next, take a small amount of eyelash adhesive and apply it along the roots of your natural lashes. Be careful not to get the adhesive into your eyes. Wait for the adhesive to become tacky before applying the false lashes.
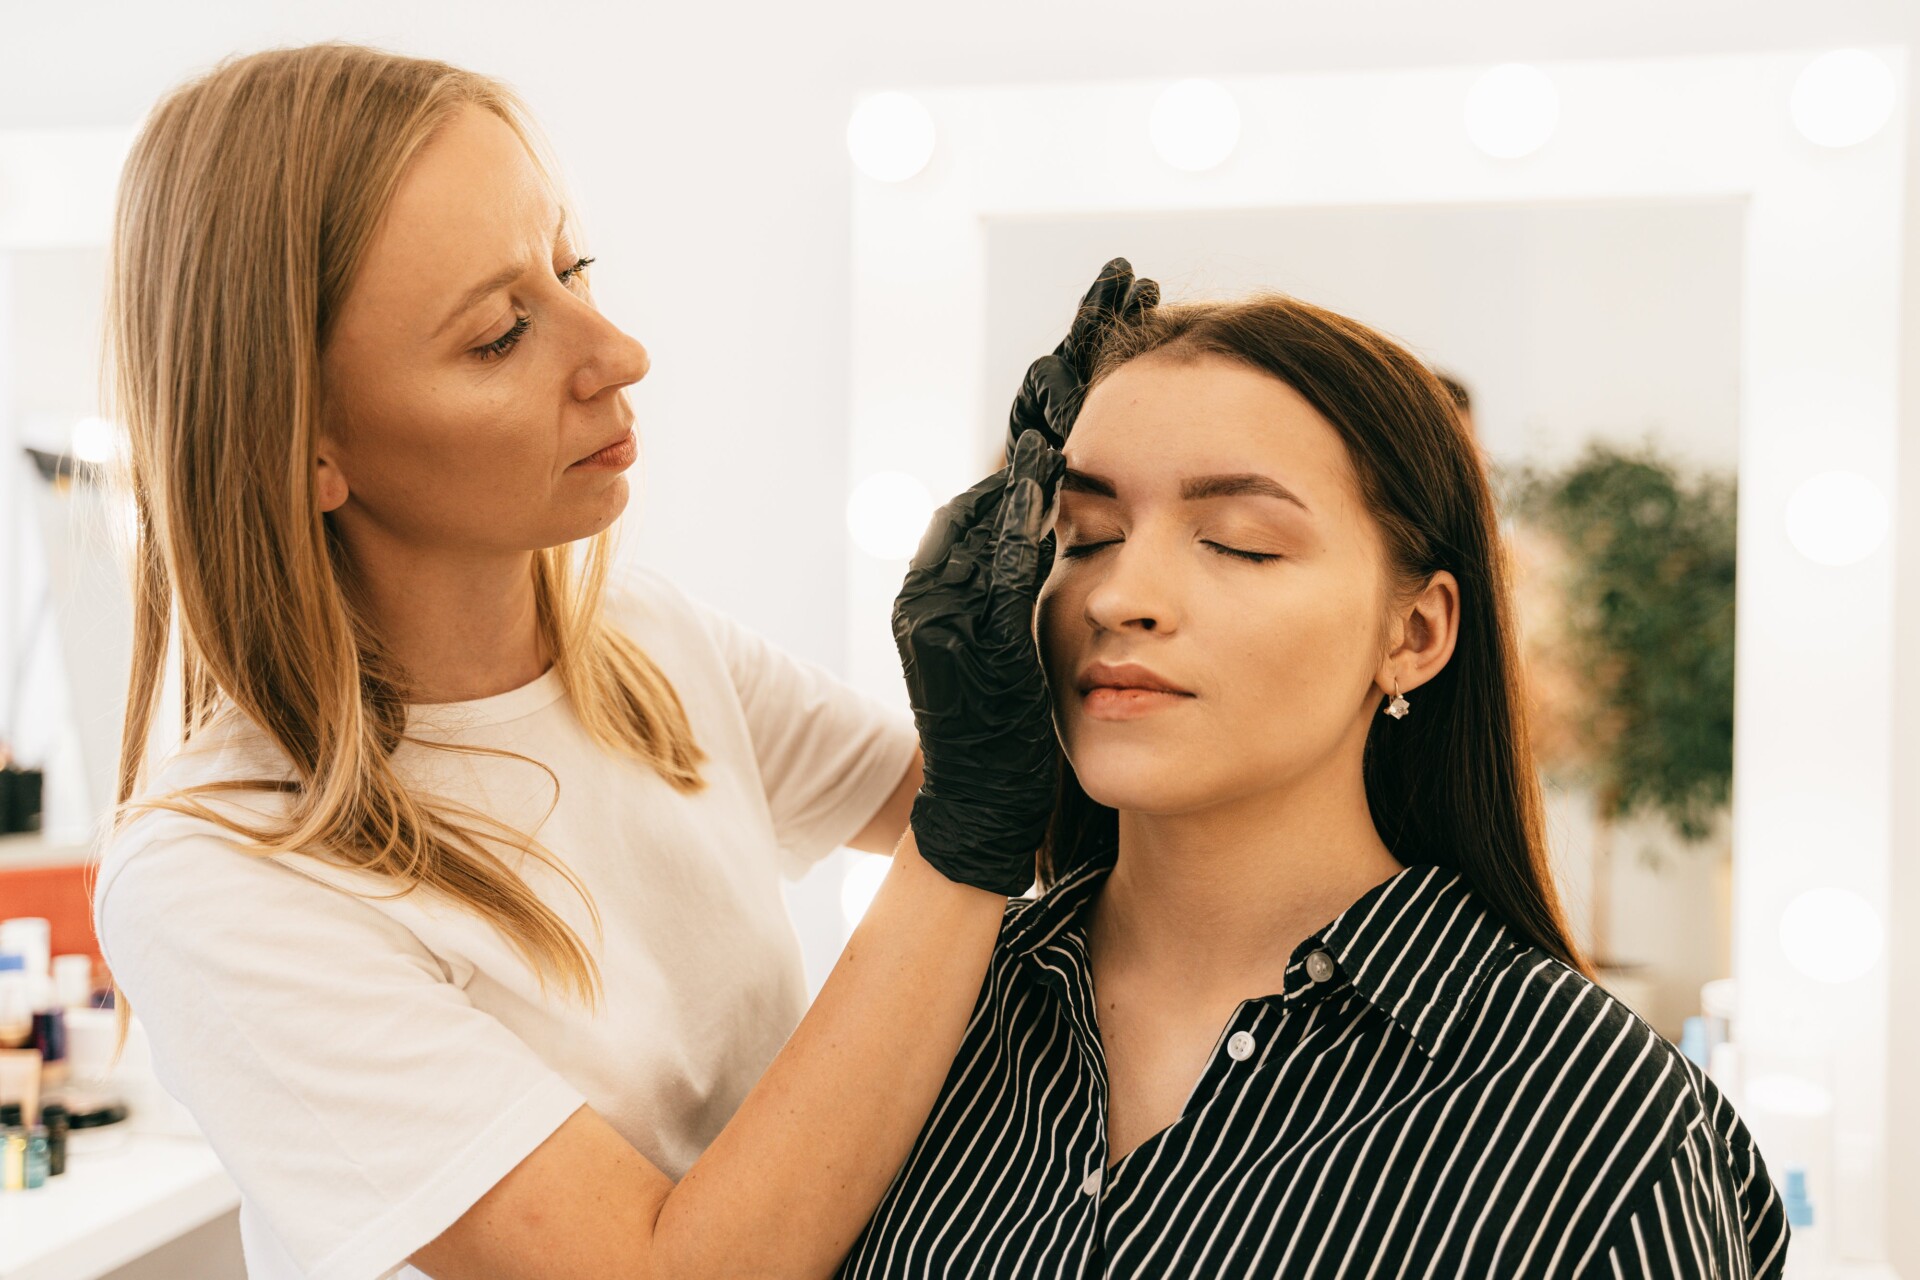
When it comes to applying eyelash adhesive, one crucial step is aligning the false eyelashes with your natural lash line. This ensures a seamless and natural-looking application. Start by measuring the false lashes against your eyelid and trim any excess length if needed. Then, using a pair of tweezers, carefully apply a thin layer of eyelash adhesive along the lash band. Wait for a few seconds for the adhesive to become tacky before proceeding.
To align the false lashes correctly, look down into a mirror and place the lashes as close to your natural lash line as possible. Using the tweezers or your fingertips, gently press the lashes into place, starting from the inner corner and working your way outwards. Ensure that the lashes are securely attached and there are no gaps between the false lashes and your natural lashes. This technique will create a beautiful and natural-looking lash line that seamlessly blends in with your own lashes.
After aligning the false eyelashes with your natural lash line, the next step is to secure them in place using eyelash adhesive. This ensures that the lashes stay put throughout the day or night, giving you a long-lasting and flawless look. Once the false lashes are aligned correctly, gently press down on the lash band starting from the inner corner and moving outwards. This will help to bond the lashes with your natural lashes and ensure a secure fit.
To further strengthen the bond, you can use a clean mascara wand to brush through your natural lashes and the false lashes. This will help to blend them together and create a seamless appearance. Additionally, if you notice any lifting or gaps, you can apply a small amount of eyelash adhesive to the areas that need reinforcement. Remember to wait for the adhesive to dry completely before applying mascara or any other eye makeup.
By following these steps and using high-quality eyelash adhesive, you can achieve a flawless and long-lasting application of false eyelashes.

Using a lash applicator tool is a game-changer when it comes to applying eyelash adhesive effortlessly. This handy tool allows for precise and controlled application, ensuring that your false lashes stay in place all day long. To use the lash applicator tool, simply squeeze the adhesive onto the tip of the tool and apply it along the band of the false lashes. The tool’s fine tip helps distribute the adhesive evenly, avoiding any messy or gloppy application. Additionally, the applicator’s curved shape allows for seamless placement of the lashes, ensuring they align perfectly with your natural lash line. With the help of a lash applicator tool, you can achieve a professional-looking finish without any hassle.
For those who desire extra hold and longevity, applying a second layer of eyelash adhesive can be a game-changer. After applying the initial layer of adhesive along the lash band, allow it to become slightly tacky before applying the lashes. Once the first layer is tacky, apply a second thin layer of adhesive directly on top of the first layer. This additional layer of adhesive helps create a stronger bond between the false lashes and your natural lashes, ensuring they stay in place even through long hours or humid conditions. However, it’s important to exercise caution and avoid applying too much adhesive as it may create a messy and uncomfortable experience. By applying a second layer of adhesive strategically, you can enjoy enhanced durability and a flawless lash look all day.