Ombré Brows: 5 Important Things About This Latest Brow Trend
By
Stylist Venita
If you are looking for a way to enhance your eyebrows without spending too much time and money on makeup products, you might want to consider ombré brows. In this blog post, we will answer some of the most common questions about ombré brows, such as:
What are ombré brows and how are they done?
What are the benefits and drawbacks of ombré brows?
How to prepare for and take care of ombré brows?
How to create ombré brows with makeup?
What are ombré brows and how are they done?
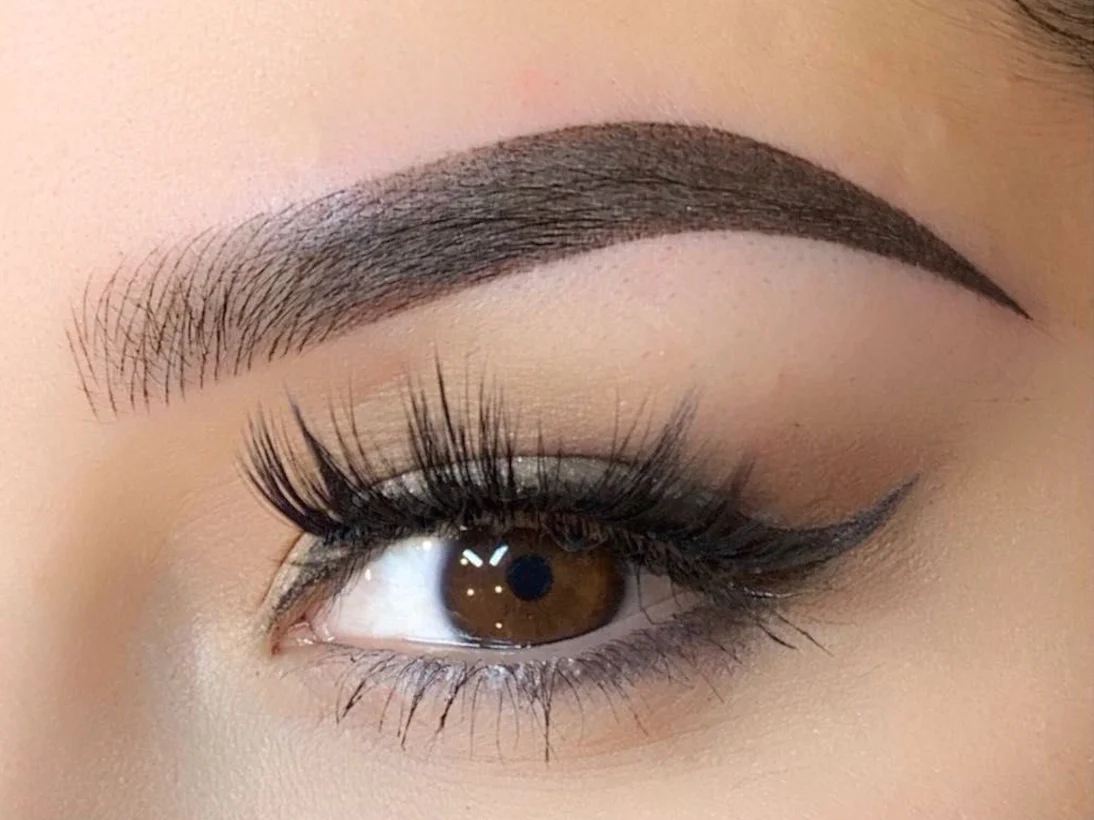
Ombré brows are a type of semi-permanent makeup that uses a shading technique to create a gradient effect on the eyebrows.
The name ombré comes from the French word for “shaded” or “graduated”.
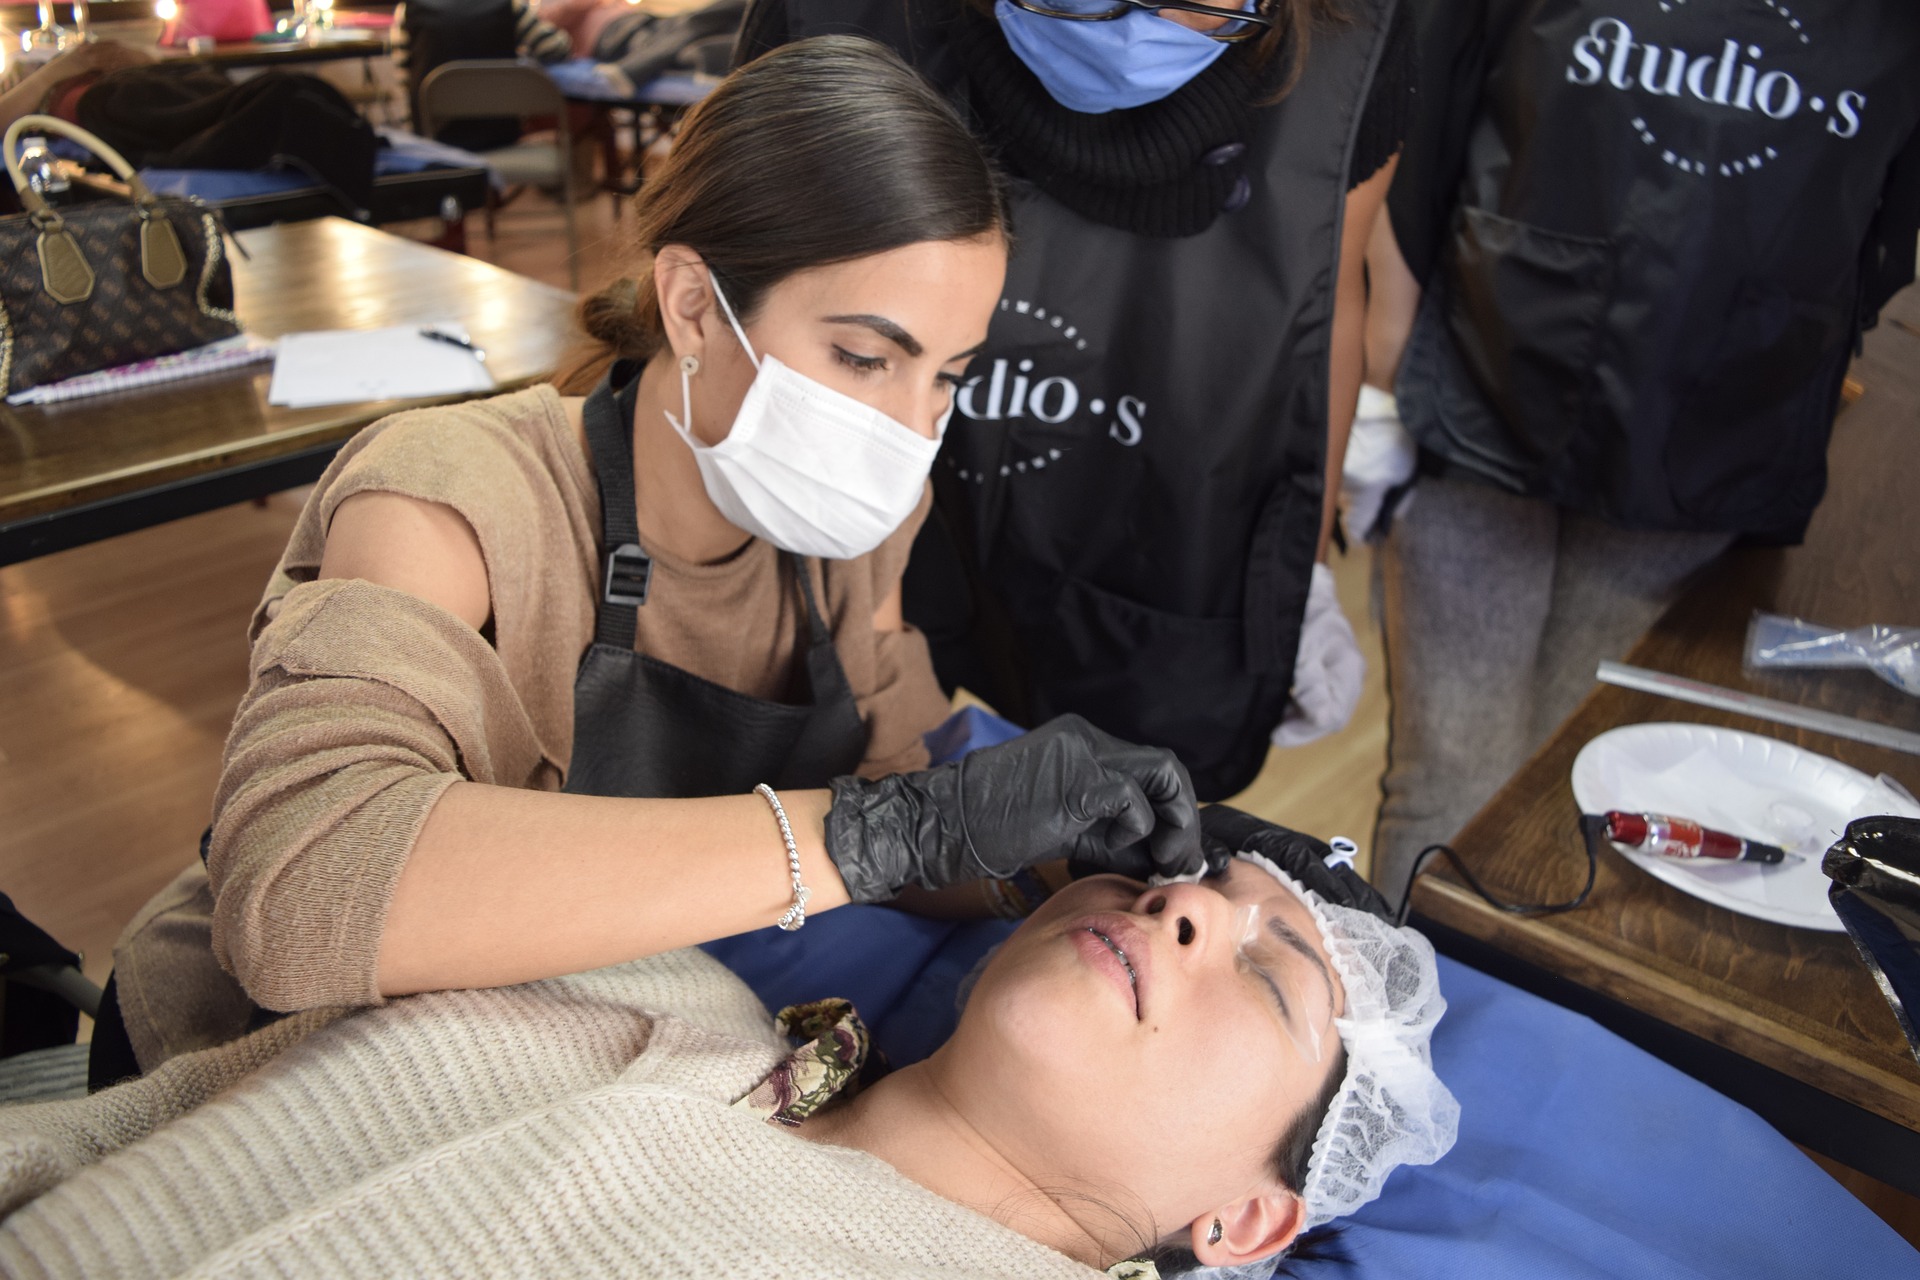
The process of getting your brows ombréd involves using a small machine with a fine needle to deposit tiny dots of pigment into the top layers of the skin, creating a powdery finish that resembles a shaded eyebrow pencil. The color is usually lighter at the beginning of the brow and darker at the end, giving a natural and dimensional look.
The procedure takes about two to three hours, depending on the shape and size of the brows. The first step is to draw the outline of the desired brow shape with a pencil and then numb the area with a topical anesthetic.
The second step is to use the machine to apply the pigment in a circular motion, starting from the tail and moving towards the front. The third step is to wipe off the excess pigment and apply a soothing cream. The final result will look darker and more intense at first, but it will fade and soften over the next few weeks.
What are the benefits of ombré brows?
Ombré brows have many advantages over other eyebrow styling methods, such as:
They are suitable for all skin types, especially oily or sensitive skin, as they do not penetrate the skin as deeply as microblading and do not cause scarring or inflammation.
They require less maintenance, as they do not need frequent touch-ups and can last for one to three years, depending on the skin type and lifestyle.
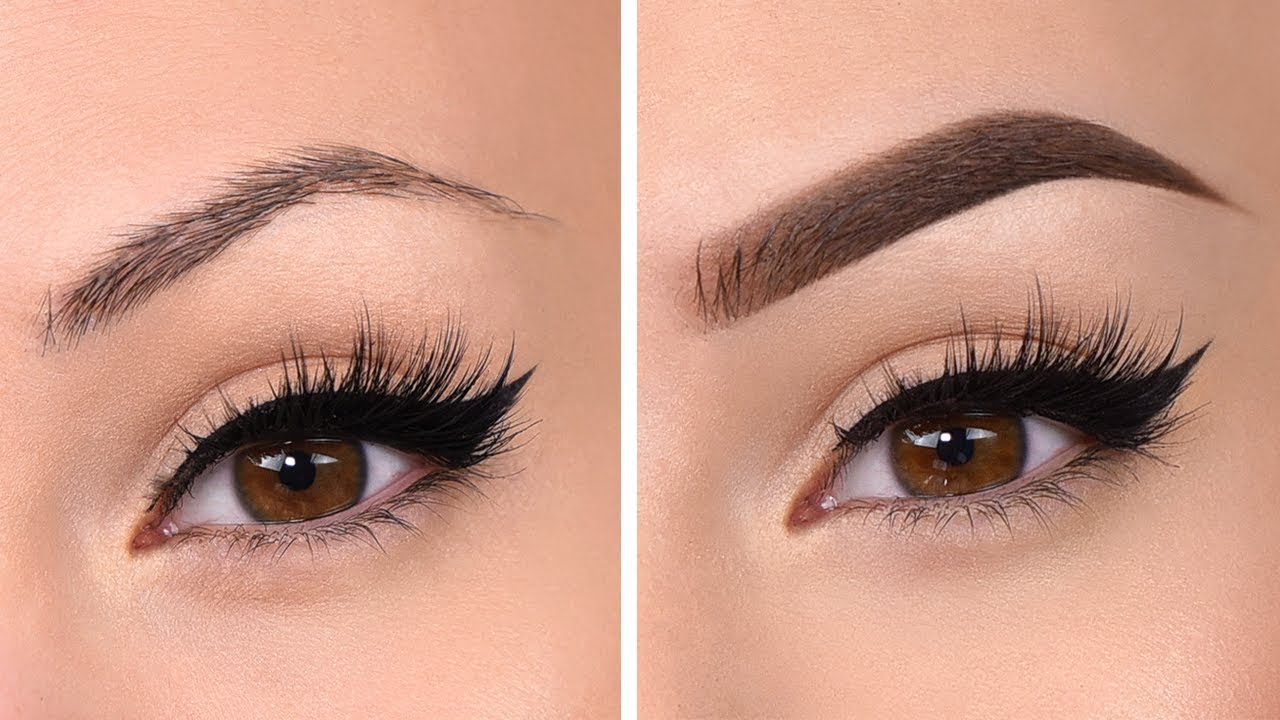
They look more natural and realistic, as they do not create harsh lines or strokes that can look fake or unnatural.
They are customizable, as the color, density, and shape can be adjusted according to the client’s preference and facial features.
What are the drawbacks of ombré brows?
However, ombré brows also have some drawbacks, such as:
They are more expensive, as they can cost anywhere from $500 to $1000, depending on the location and experience of the artist.
They are not completely painless, as some clients may experience mild discomfort or swelling during or after the procedure.
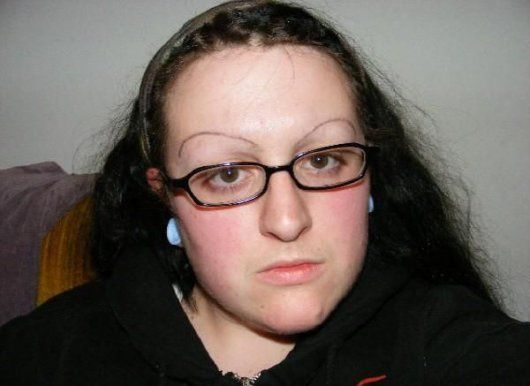
They are not reversible, as the pigment is embedded into the skin and cannot be easily removed. If the client is unhappy with the result, they may have to undergo laser removal or correction, which can be costly and risky.
How to prepare for and take care of ombré brows?
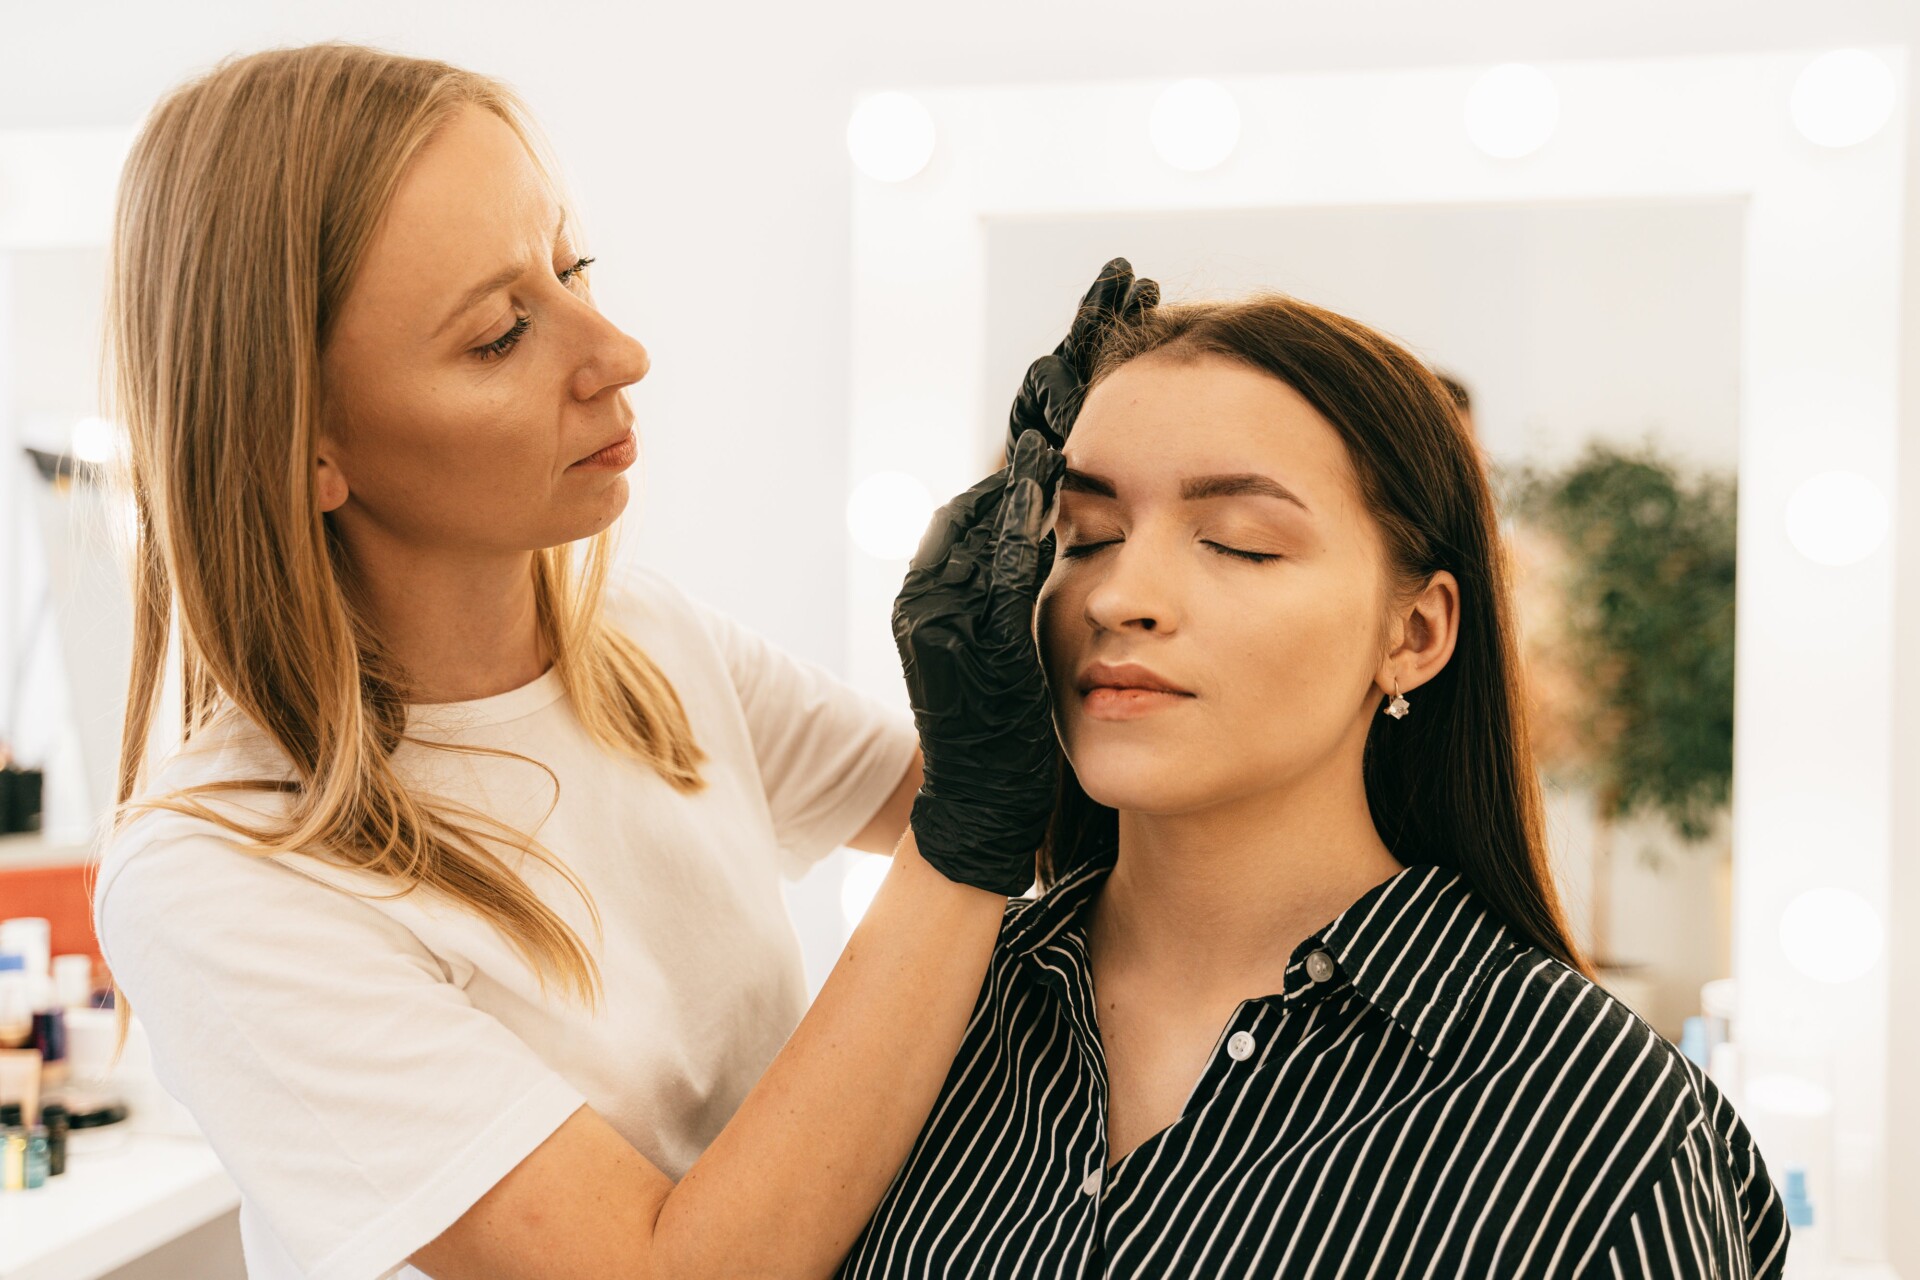
Before getting ombré brows, it is important to do some research and find a reputable and certified artist who has experience and a portfolio of their work. It is also advisable to avoid any blood-thinning medications, alcohol, caffeine, or sun exposure for at least 24 hours before the appointment, as they can affect the healing process and pigment retention.
After getting ombré brows, it is essential to follow the aftercare instructions provided by the artist, which may vary slightly depending on the technique and the products used. Some general tips are:
Avoid touching, scratching, or picking at the brows, as this can cause infection or scarring.
Avoid wetting, washing, or applying any products on the brows for at least a week, as this can affect the pigment and the healing process.
Avoid any activities that can cause sweating, such as exercise, sauna, or steam, for at least two weeks, as this can also affect the pigment and the healing process.
Avoid any direct sun exposure, tanning, or swimming for at least four weeks, as this can cause fading or discoloration of the pigment.
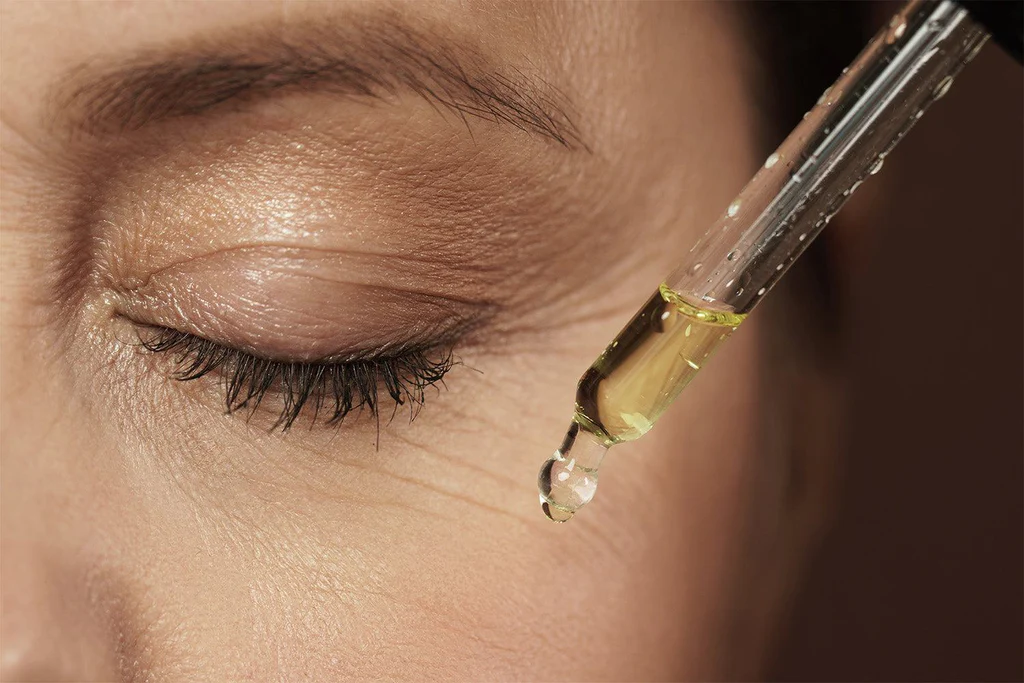
Apply a thin layer of antibiotic ointment or healing balm twice a day for the first week, and then switch to a moisturizer or sunscreen for the following weeks, to protect and hydrate the brows.
Expect some scabbing, flaking, itching, or redness for the first few days, as this is normal and part of the healing process. Do not panic if the color looks too dark, too light, or uneven, as this will change and settle over time.
Schedule a touch-up session after four to six weeks, to fill in any gaps, adjust the color, or refine the shape, if needed.
How to create ombré brows with makeup?
If you are not ready to commit to ombré brows, you can still achieve a similar look with makeup products, such as:
A brow pencil, to outline and define the shape of the brows.
A brow powder, to fill in and shade the brows, using a lighter color at the front and a darker color at the end.
A brow gel, to set and hold the brows in place, and add some shine and texture.
A brow highlighter, to accentuate the brow bone and create contrast.
The steps are:
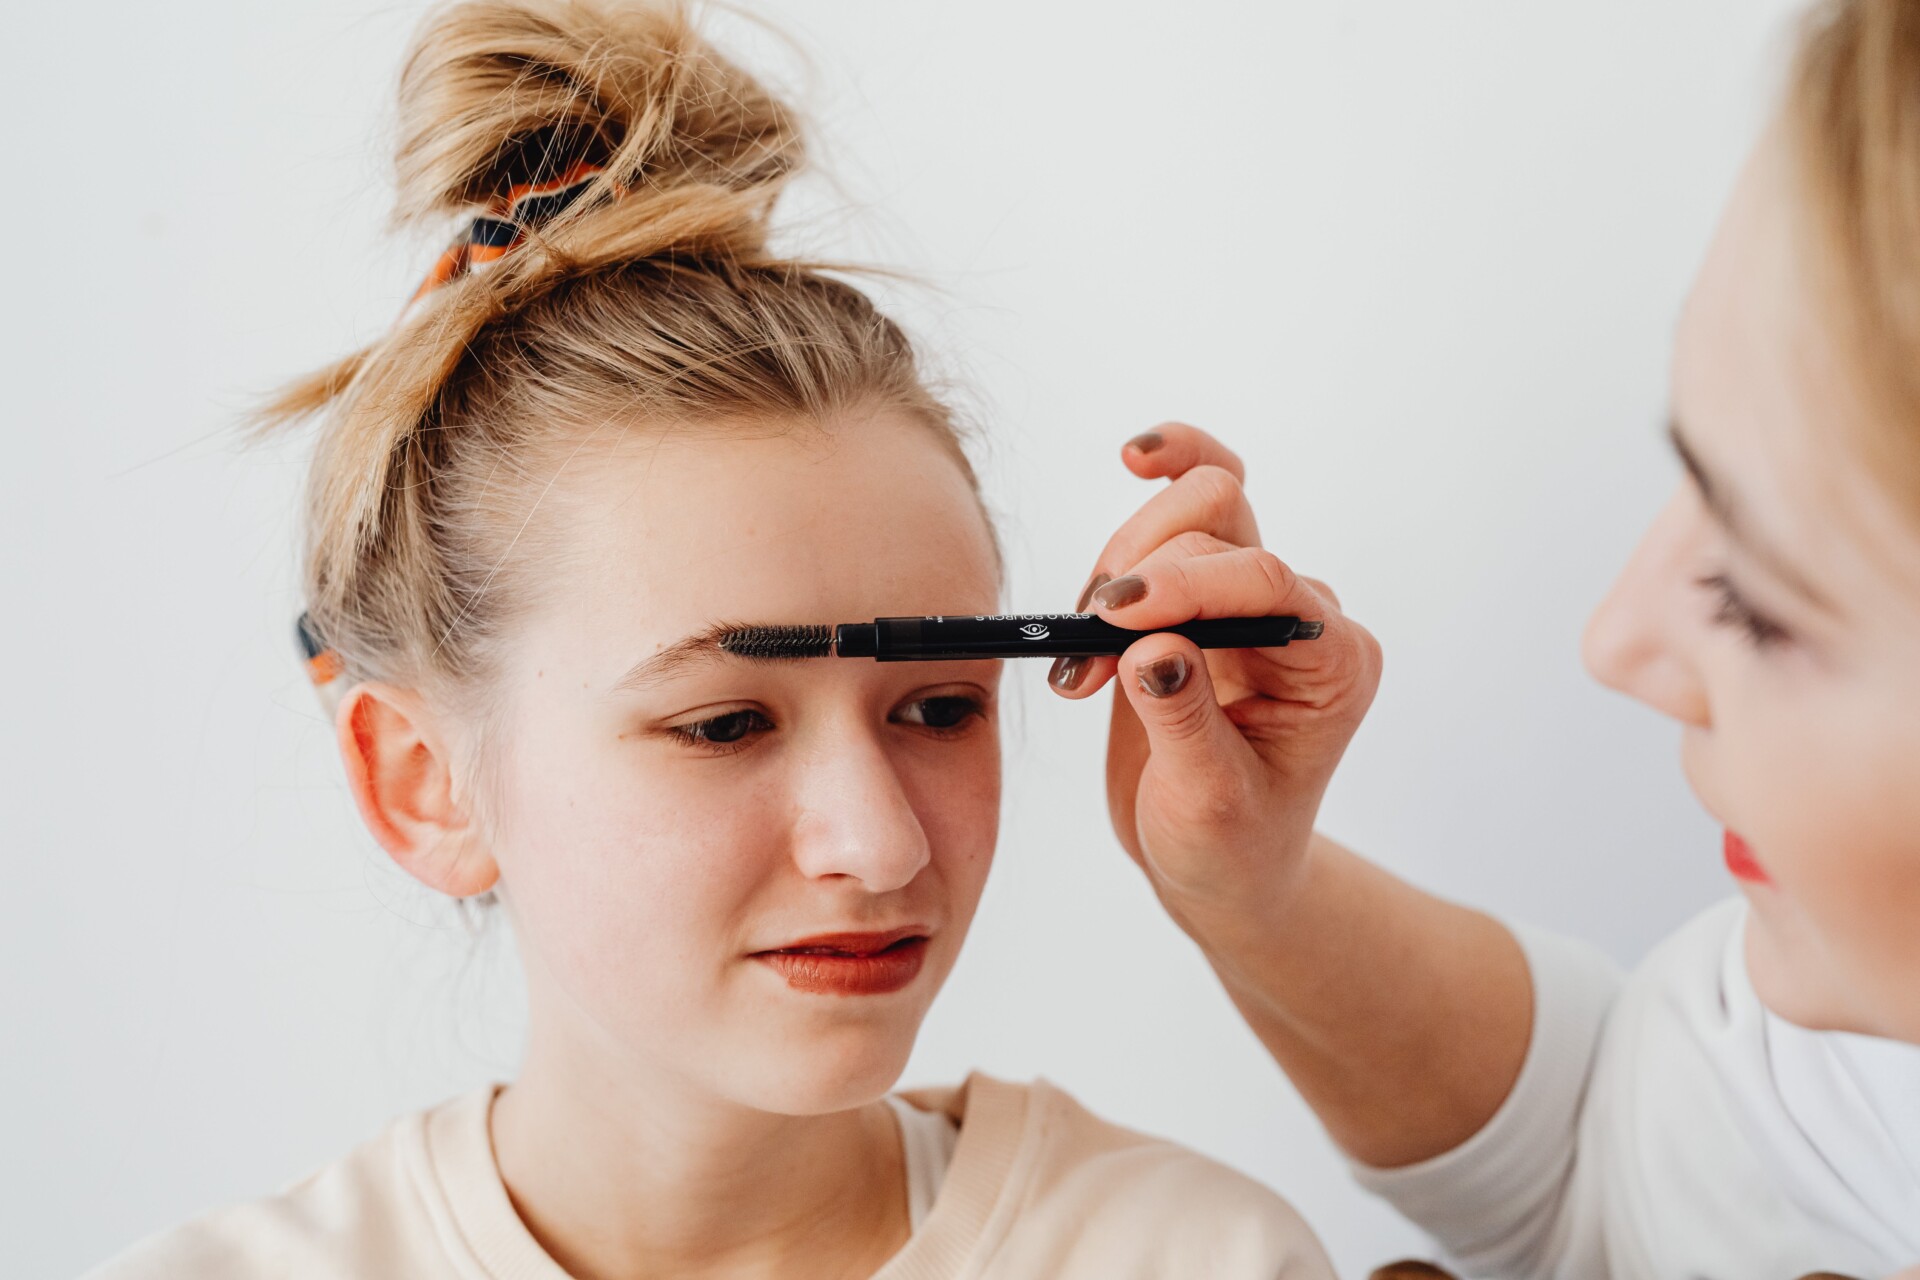
Start by brushing the brows with a spoolie to groom and shape them.
Use a brow pencil to outline the brows, following the natural arch and length. Use light and short strokes to create a soft and natural look.
Use a brow powder and an angled brush to fill in and shade the brows, using a lighter color at the front and a darker color at the end. Blend well to create a smooth and seamless transition of color.
Use a brow gel to comb and set the brows in place, and add some shine and texture. Choose a clear or tinted gel, depending on the desired intensity and effect.
Use a brow highlighter to apply a thin line under the brow bone and blend with a finger or a brush. This will accentuate the brow bone and create contrast.
 By
Stylist Venita
By
Stylist Venita