 By
Tonie Jones
By
Tonie Jones
Hey there, lovely!
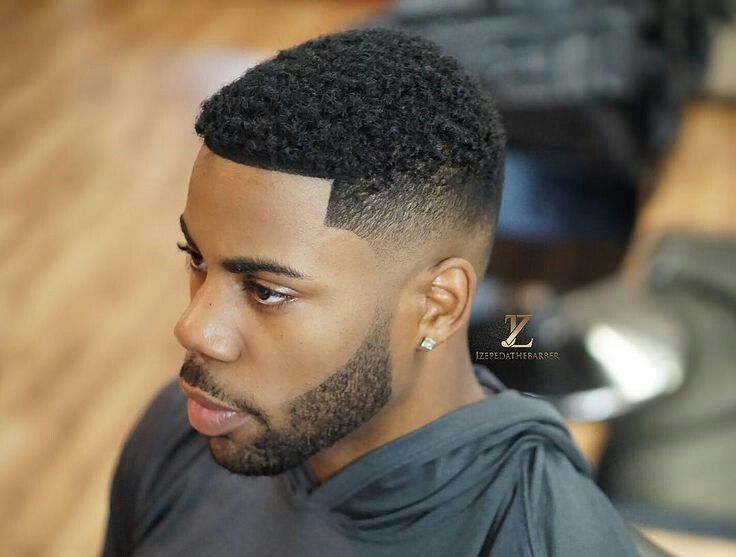
Have you ever wondered how to give your sideburns that sharp, clean look?
In this step-by-step article, we’ve got the lowdown on threading – a quick and precise method that’ll have your sideburns looking on point in no time.
Before you dive into the threading adventure, gather your tools. All you need is a basic threading kit with thread and scissors, a mirror to get a good view, and a healthy dose of patience.

Trust us; it’s the key to success!
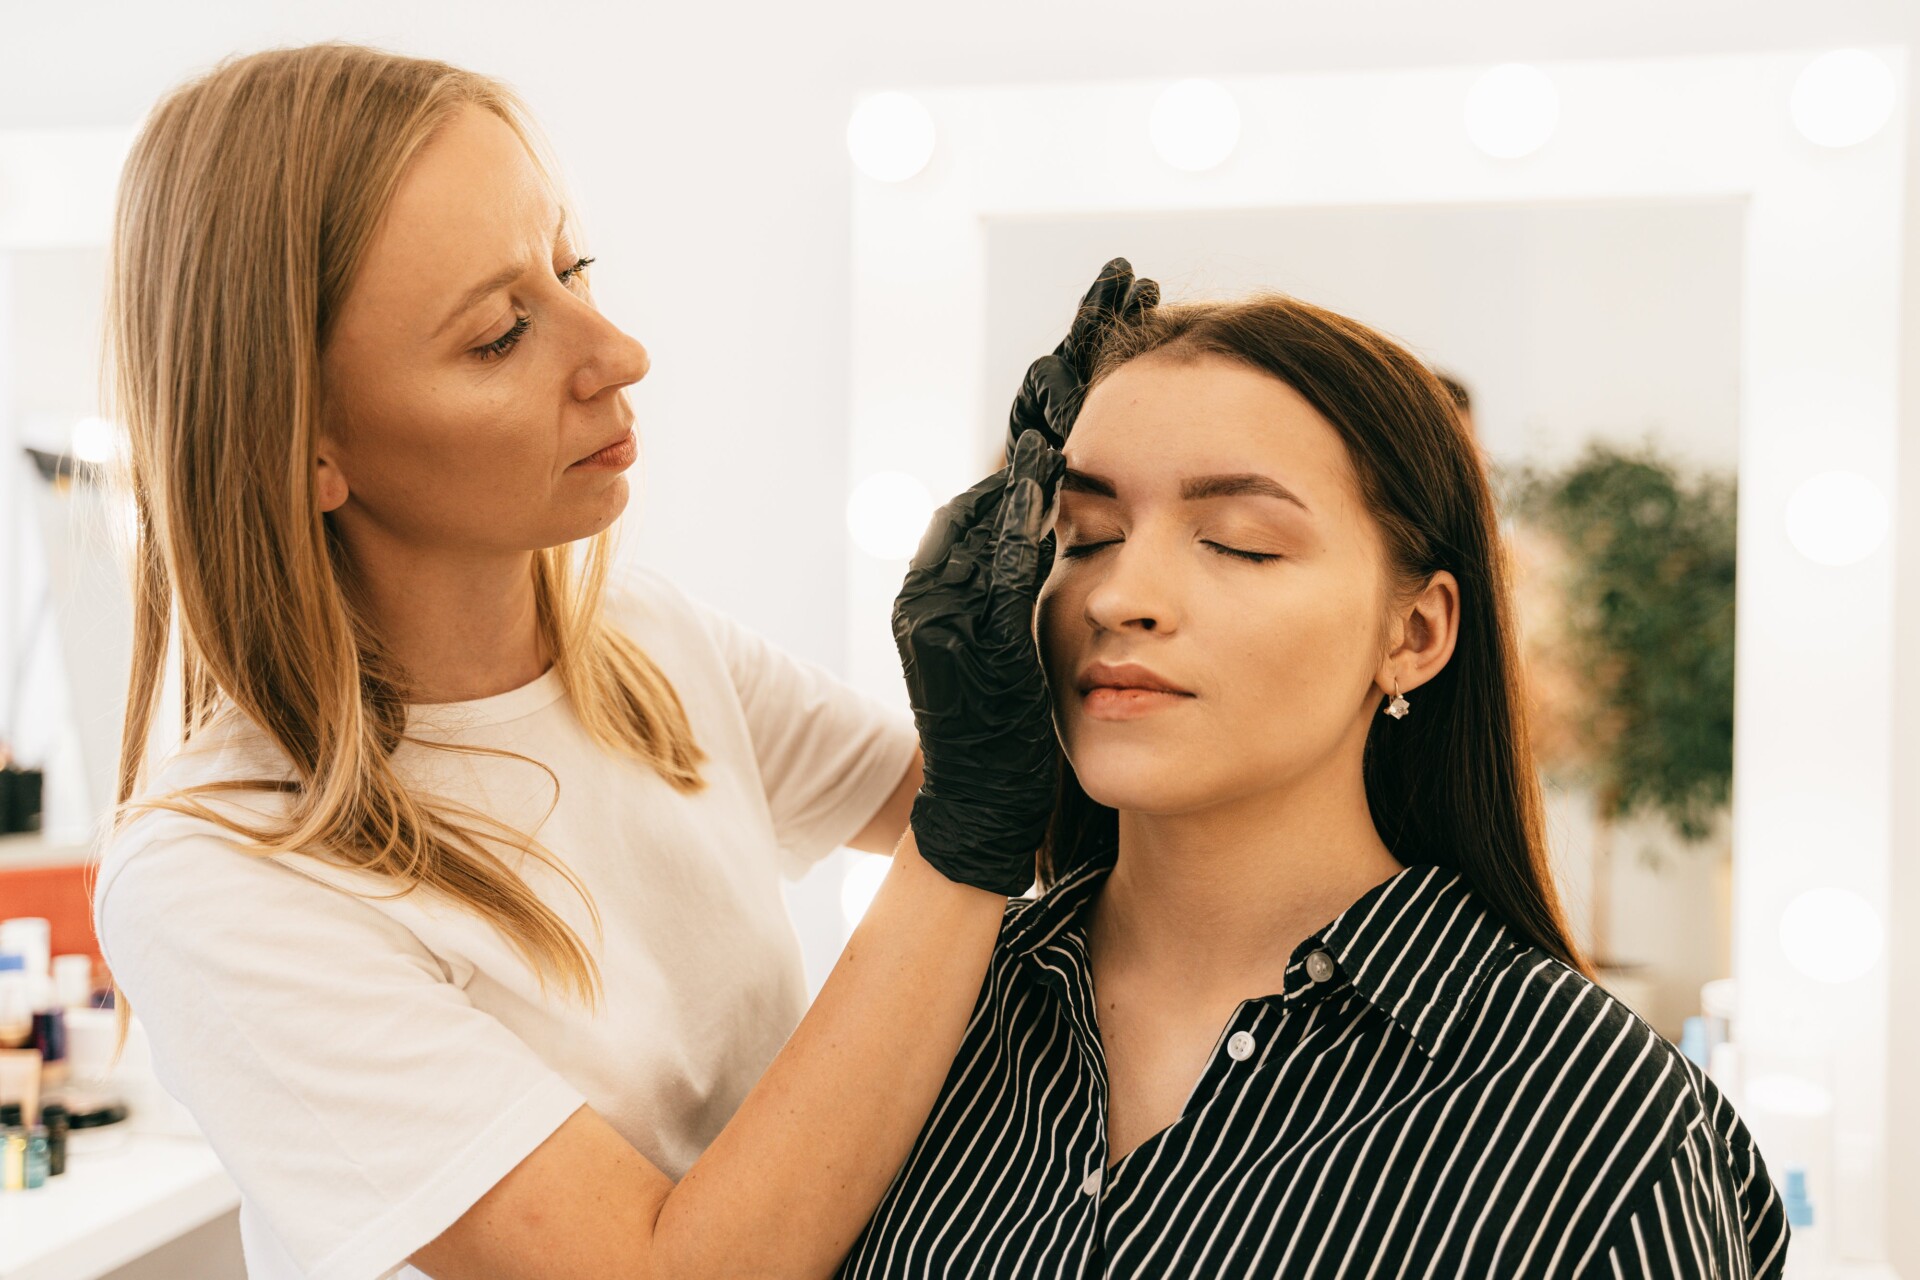
Start with a clean canvas! Cleanse and dry your face to ensure a smooth threading experience. Next, give those sideburns a little love by combing through them. This step makes the threading process a breeze.
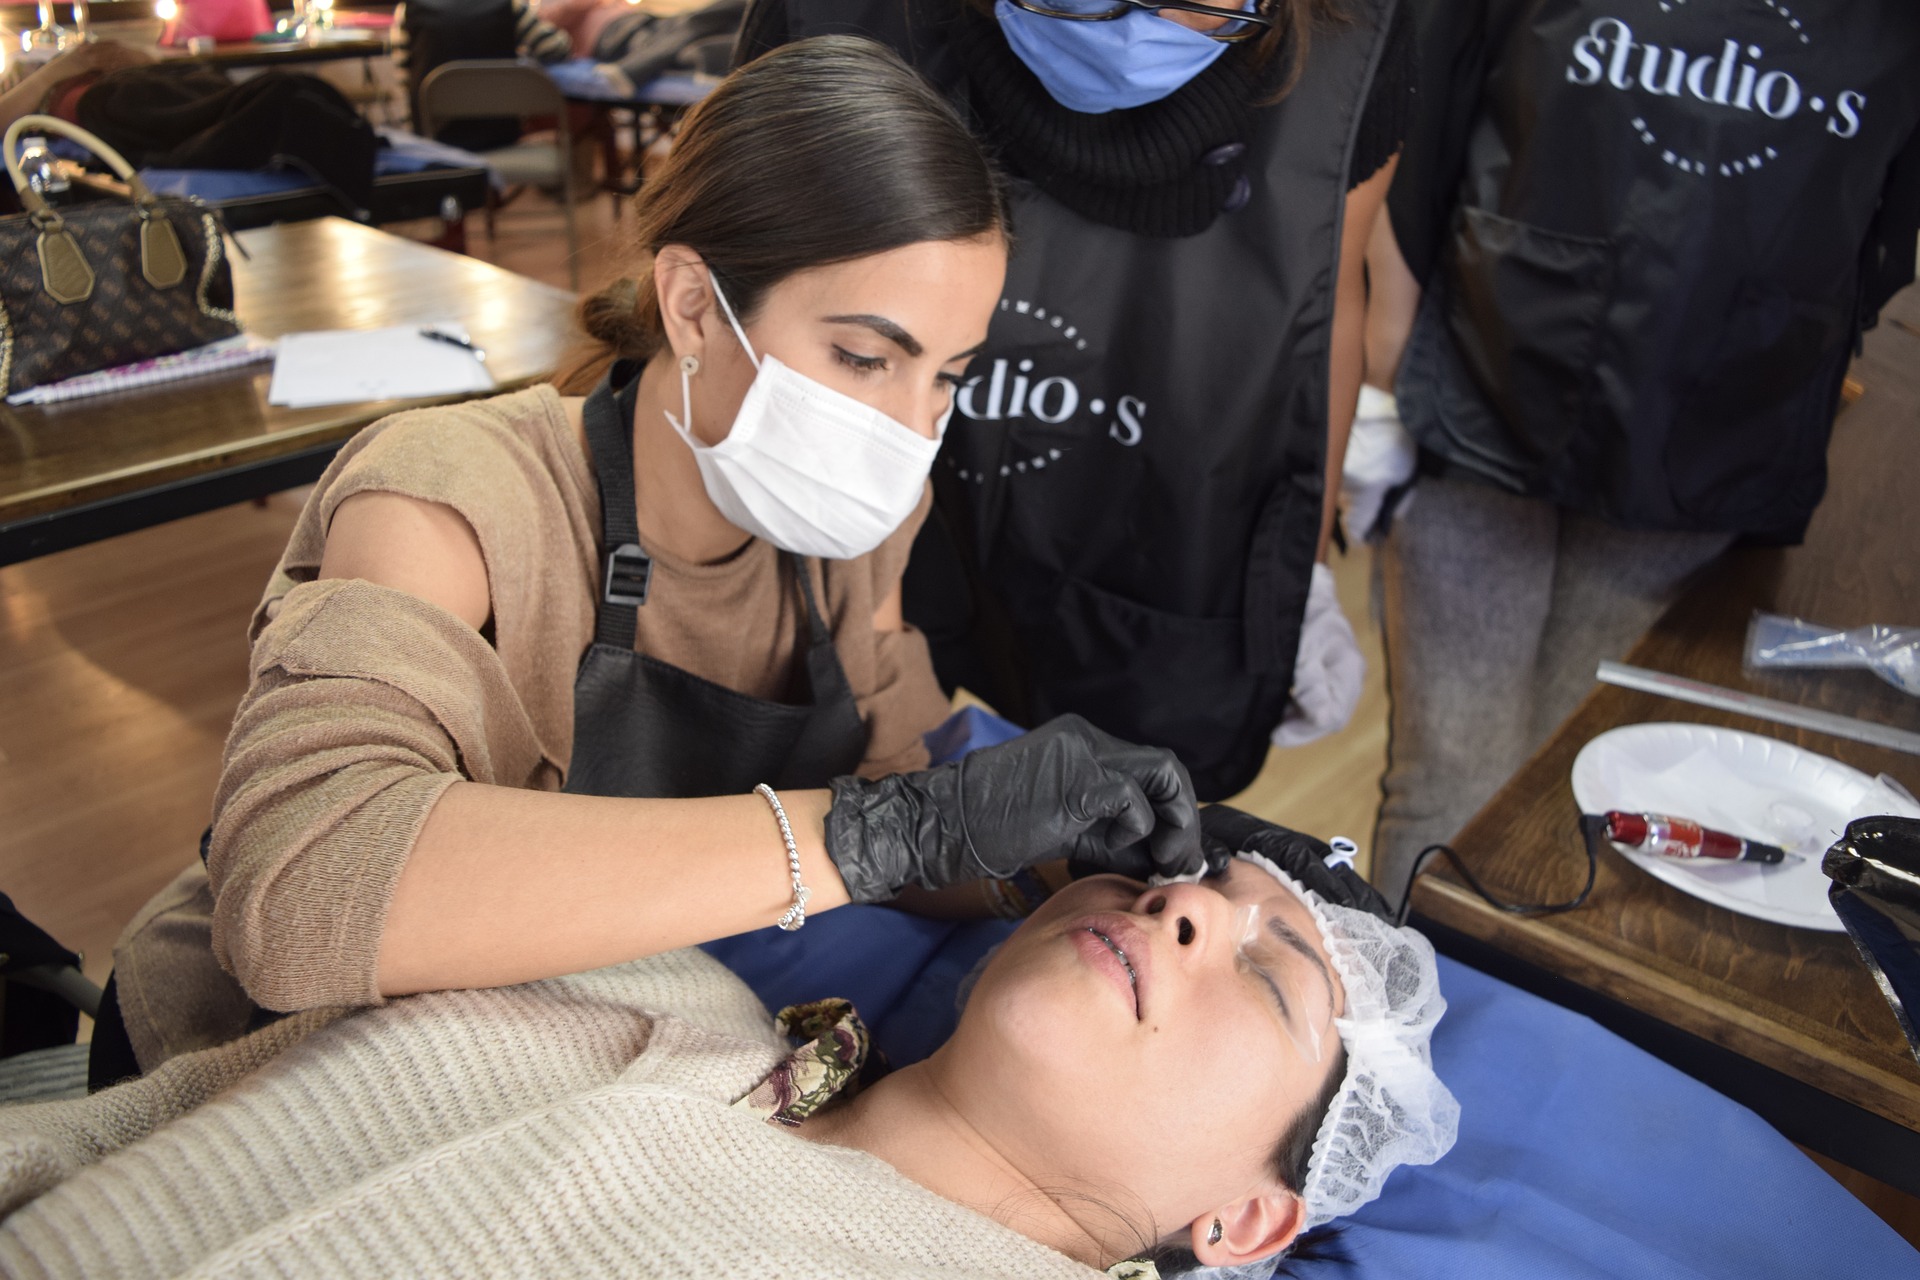
Now that you’re all set to embark on the journey of brow threading, let’s delve deeper into the mesmerizing art of shaping your eyebrows with thread. It might seem like magic, but with a bit of practice, you’ll be threading like a pro.
Here’s the breakdown:
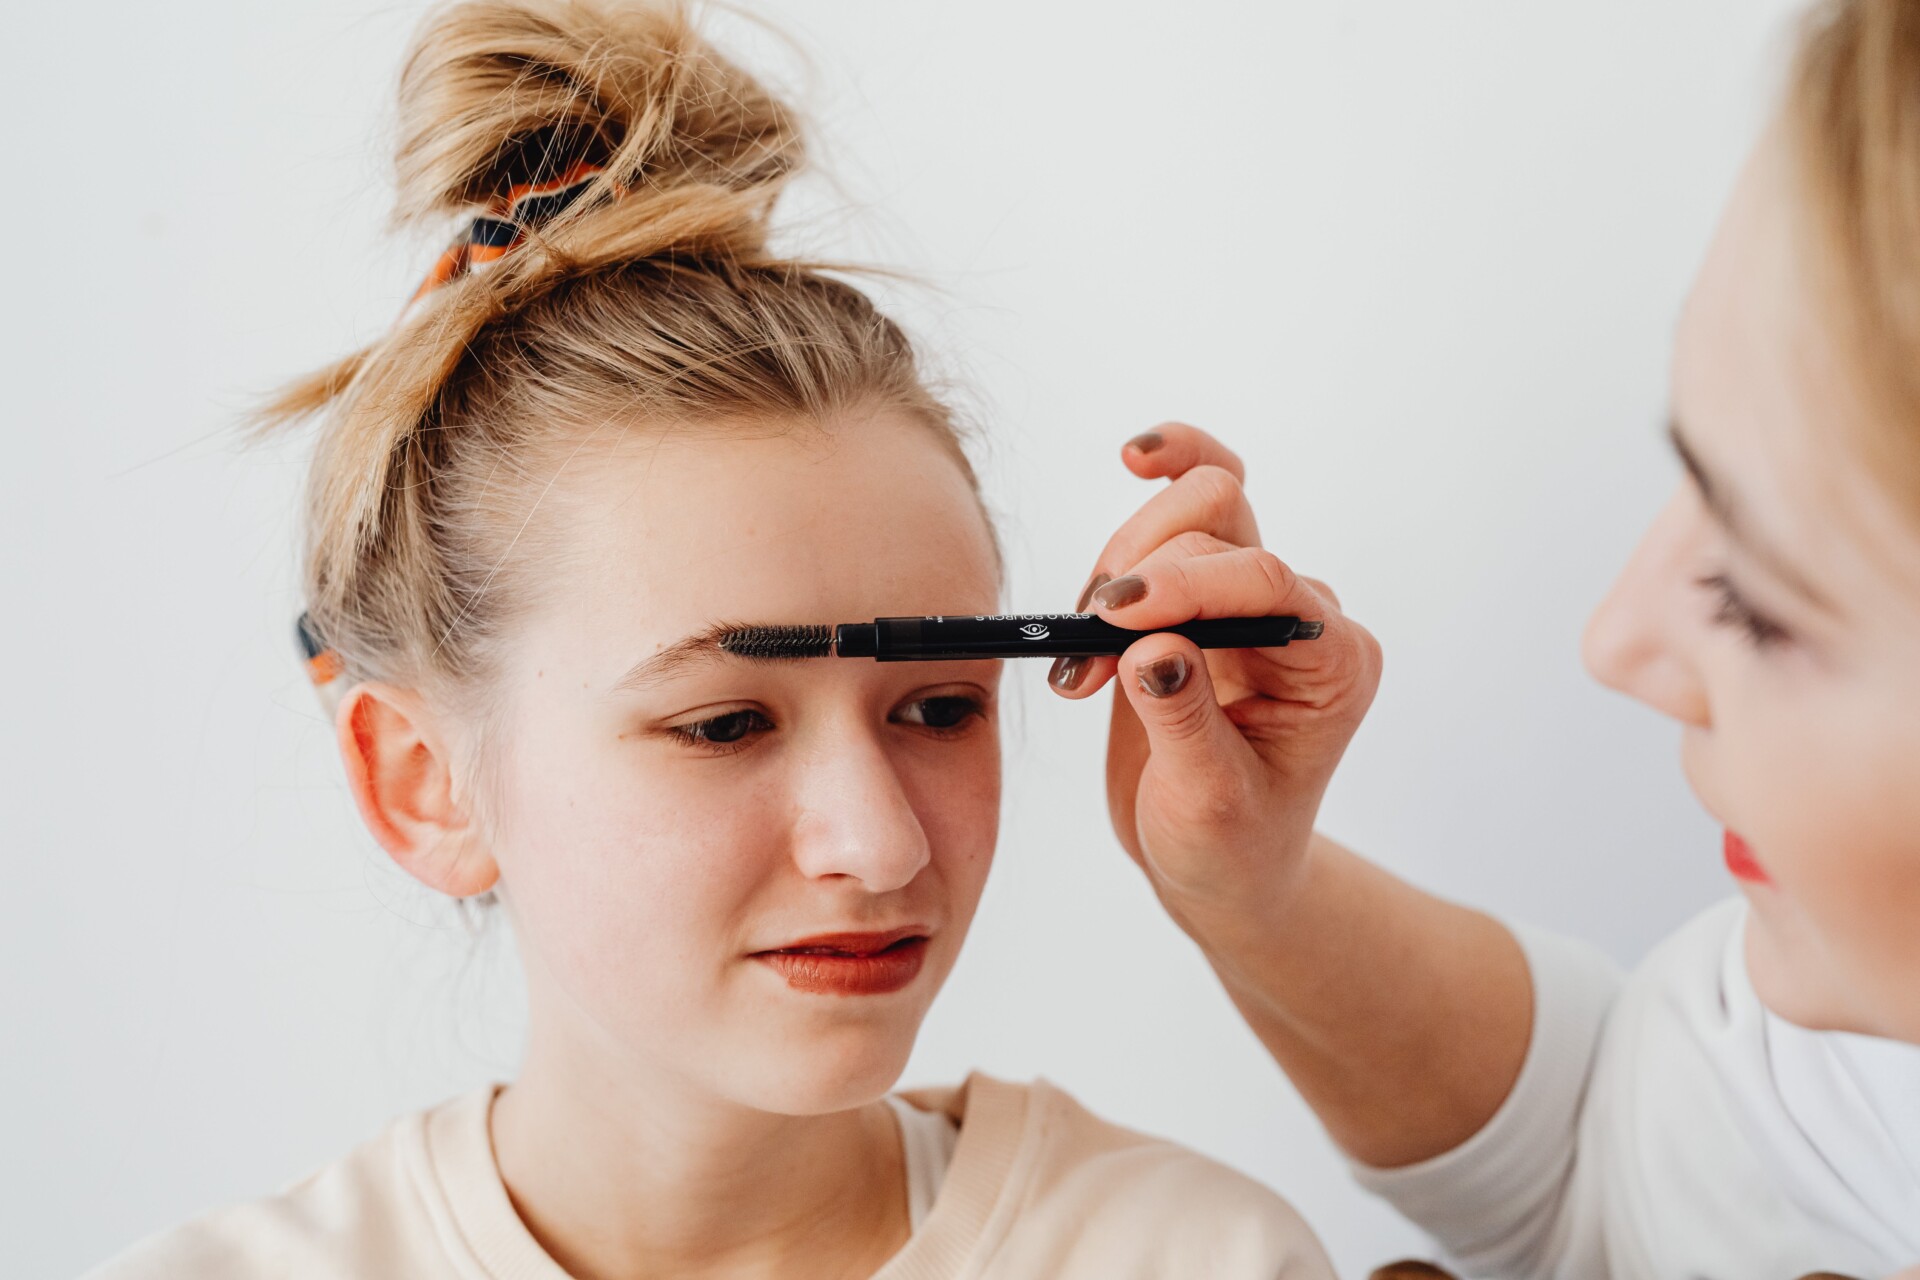
2. Placing the Loop on Your Fingers: Setting the Stage

Now that you have your magical thread loop ready, it’s time to position it on your fingers for optimal control. Think of your fingers as the skilled magician’s hands, ready to perform the trick. Here’s how to set the stage:
3. Maneuvering the Loop: Mastering the Technique
The real magic happens when you start moving the loop across your brow area. This step is all about finesse and precision, much like a magician’s graceful hand movements. Follow these steps:
With these enchanting moves, you’re now armed with the thread magic necessary for achieving perfectly threaded eyebrows. Practice makes perfect, so take your time, and soon you’ll be threading your brows with the finesse of a seasoned magician. Get ready to unveil a new, polished you!
Determine the length and shape you desire for your sideburns. With the precision of a magician, trim away any excess hair with your trusty scissors.
Congratulations on threading like a pro! To soothe your skin, apply a little lotion or aloe vera gel. Remember, resist the urge to touch or scratch the threaded area to avoid irritation.
If you encounter redness or irritation, fear not! Apply a cool compress and give your skin a breather. For tricky areas, take your time and be gentle.
Keep the magic alive by threading regularly. It’s a skill that improves with practice. Also, don’t forget to keep your threading kit clean and ready for the next round of sideburn styling.
Your sideburns are a canvas for your unique style. Experiment with different shapes and lengths until you find the look that screams ‘you.’
And there you have it, a simple guide to threading sideburns! Recap the process, pat yourself on the back, and go out there rocking your freshly threaded sideburns. Unleash your style and own it!