 By
Your Beauty Plug
By
Your Beauty Plug
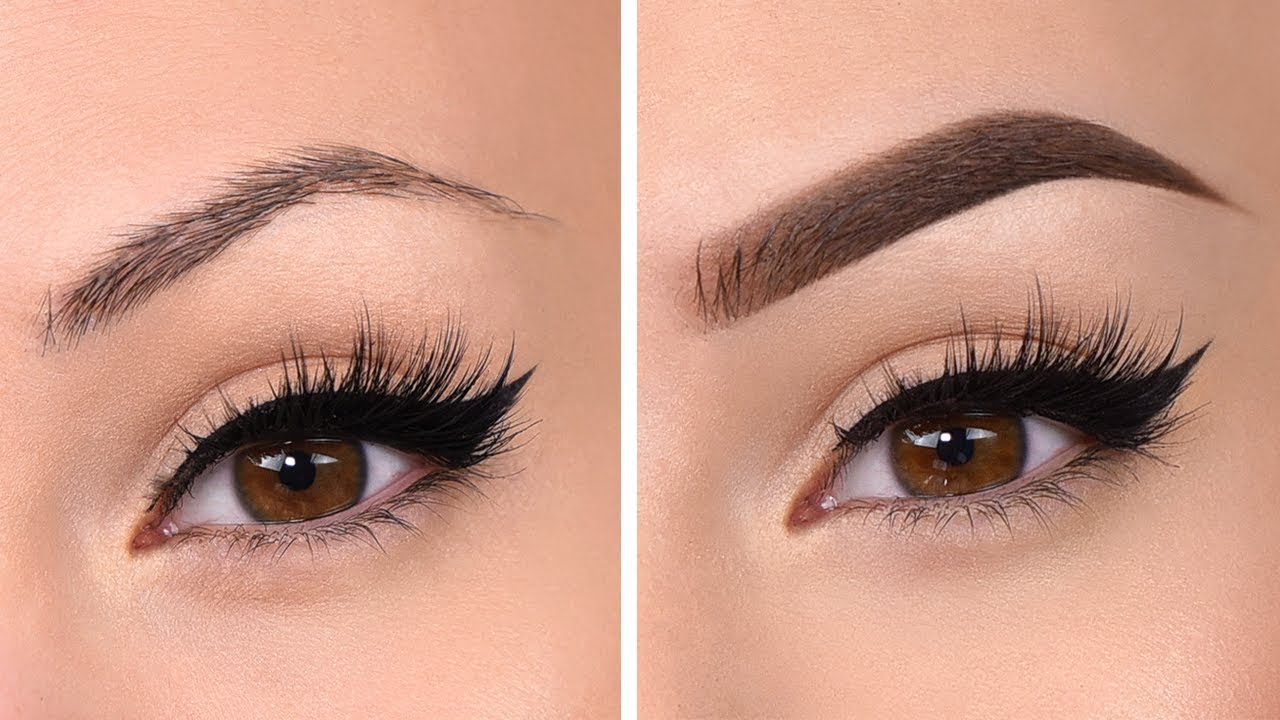
Lash lifts are a popular beauty treatment that can give you the appearance of longer, fuller, and more curled lashes without the hassle of extensions or mascara. A lash lift is essentially a perm for your lashes, using a chemical solution to curl them upwards from the base. The results can last for six to eight weeks, depending on your lash growth cycle.
However, lash lifts can also be quite expensive and time-consuming to get done at a salon. That’s why some people opt for a DIY lash lift at home, using a kit that contains all the necessary tools and products. But is it safe and effective to do a lash lift yourself? What are the pros and cons of a DIY lash lift? And how can you achieve the best results possible?
In this blog post, we will answer all these questions and more, providing you with a step-by-step guide on how to do a lash lift at home, as well as some tips and tricks to make it easier and more fun. Let’s get started!
Before you begin, you will need to get a lash lift kit that contains the following items:
You can find many lash lift kits online, but make sure to choose one that has good reviews and is suitable for your lash type and length. One of the most popular and highly rated lash lift kits is the ICONSIGN lash lift kit, which costs £20.99 on Amazon UK and $24.99 on Amazon US.
You will also need some extra items that are not included in the kit, such as:
Make sure to do a patch test of each of the solutions in the kit on an inconspicuous area near your face (such as behind your ear) at least 24 hours before you try it on your eyelashes. This is to check for any allergic reactions or sensitivities to the products. If you experience any itching, redness, swelling, or irritation, do not use the kit on your lashes.
Once you have everything ready, you can start the lash lift process. Here are the steps to follow:
Use an oil-free remover or the cleanser solution from the kit to clean your lashes and remove any makeup, dirt, or oil. This will help the products adhere better and prevent any infections or irritations. Use a cotton pad or the cleaning tool to gently wipe your lashes from the base to the tip. Make sure your lashes are completely dry before moving on to the next step.
Pick out a lift pad that matches the size and shape of your eye and the desired curl of your lashes. The smaller the pad, the more dramatic the curl. The larger the pad, the more natural the curl. You can also trim the pad to fit your eye better. Apply some lash glue to the back of the pad and stick it to your eyelid, as close to the lash line as possible. Press it down firmly and make sure it is secure and comfortable.
Use a cotton bud to apply some lash glue to the upper part of the lift pad. Then, use the cleaning tool or another cotton bud to lift your lashes and stick them to the pad. Make sure your lashes are evenly spaced and attached to the pad. You can use a mirror to check the alignment and adjust as needed. Wait for a few minutes until the glue is dry and your lashes are firmly in place.
Place a dollop of perm solution from the kit on a cotton bud and swipe it along the lower half of your lashes (lash root area). If the solution is applied all over the lashes, they will get loose. Cover the lashes with a cling film and wait 12 to 15 minutes, depending on your lash thickness. The perm solution will break down the bonds in your lashes and make them more flexible and malleable.
Remove the cling film and use a cotton pad to gently wipe off the perm solution from your lashes. Then, apply the fix lotion from the kit on a cotton bud and swipe it along the lower half of your lashes, just like you did with the perm solution. Cover the lashes with a cling film again and wait for another 12 to 15 minutes. The fix lotion will restructure the bonds in your lashes and lock them in the curled position.
Remove the cling film and use a cotton pad to gently wipe off the fix lotion from your lashes. Then, apply the cleanser solution from the kit on a cotton pad and wipe it over your lashes and the lift pad. This will help dissolve the glue and remove any residue from the products. Gently peel off the lift pad from your eyelid and use the cleaning tool or a cotton bud to separate your lashes from the pad. Be careful not to pull or tug on your lashes.
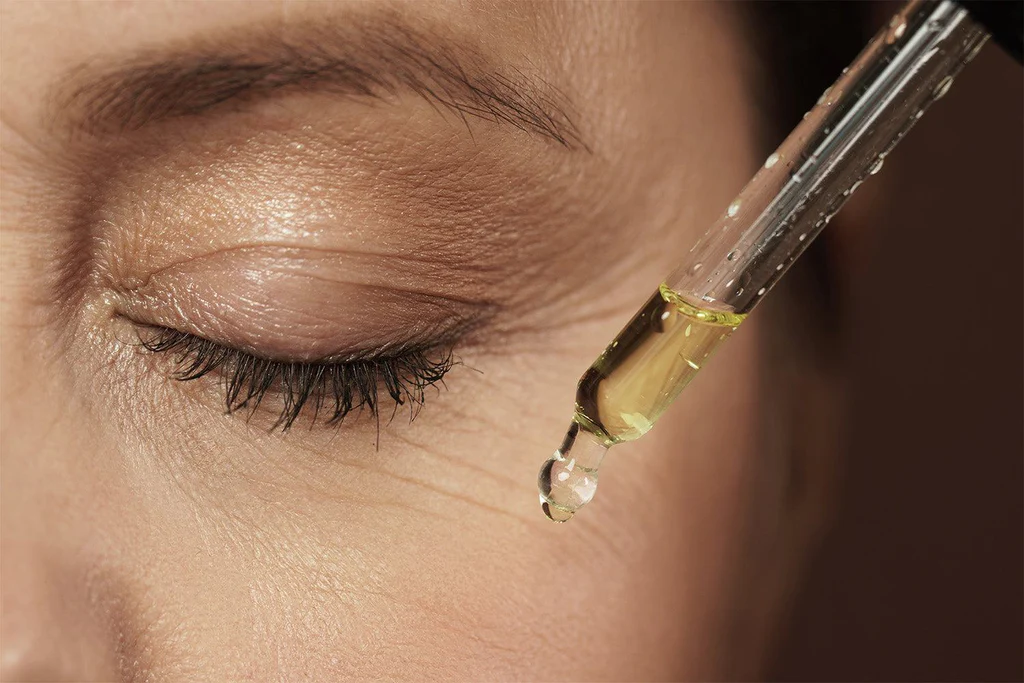
The last step is to apply the nourish lotion from the kit on a cotton bud and swipe it along your lashes, from the base to the tip. This will help moisturize and condition your lashes and prevent any damage or dryness. You can also apply some castor oil, sweet almond oil, or vitamin E oil to your lashes for extra nourishment and growth.
You have successfully completed your DIY lash lift at home! Admire your beautiful, lifted, and curled lashes in the mirror and enjoy the results for the next few weeks. You can also apply some lash tint to your lashes if you want to add some colour and definition to them. Just make sure to follow the instructions of the tint kit and do a patch test before using it.
Here are some frequently asked questions and answers about DIY lash lifts:
A DIY lash lift can be a fun and rewarding way to enhance your natural lashes and achieve a more glamorous and eye-catching look. However, it is not a simple or risk-free procedure, and it requires some preparation, patience, and skill. If you decide to try it, make sure to follow the steps and tips in this guide, use a high-quality and reliable kit, and do a patch test before using it. Also, be careful and gentle with your lashes and eyes, and consult a doctor if you have any concerns or issues.
We hope this blog post has been helpful and informative for you. If you have any questions or feedback, please leave a comment below. And if you enjoyed this post, please share it with your friends and family who might be interested in DIY lash lifts. Thank you for reading and happy lifting!