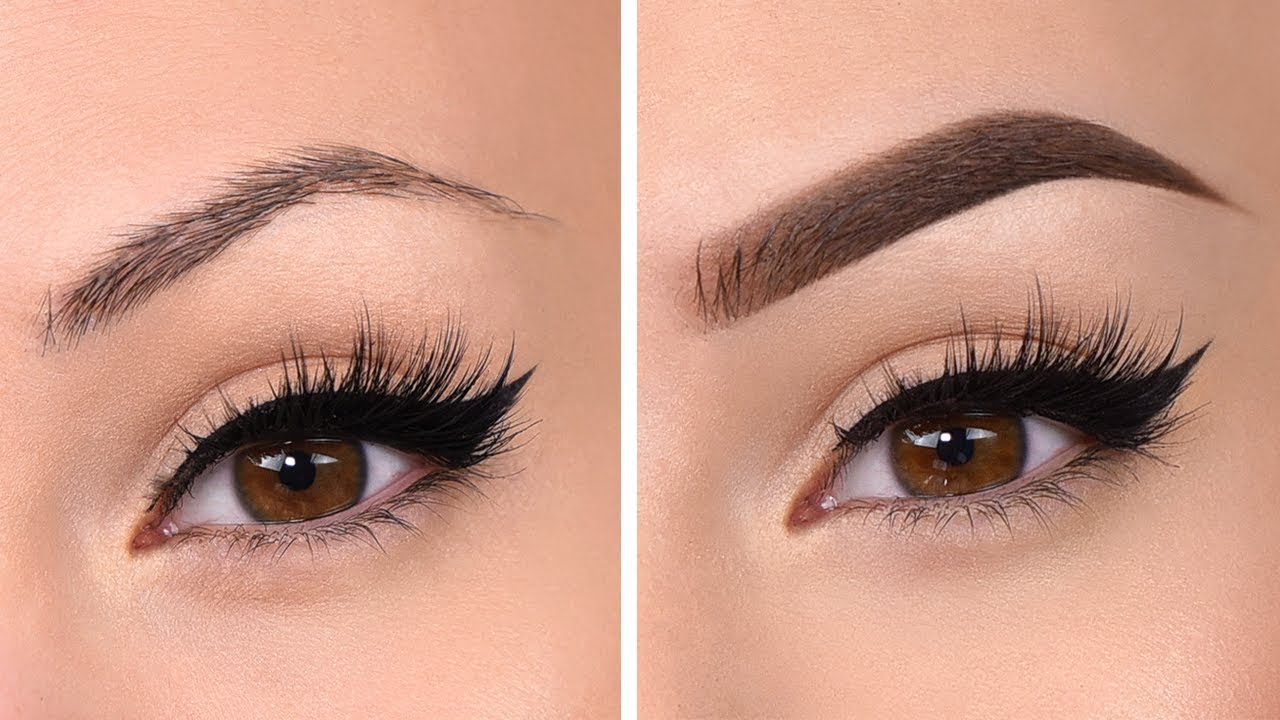
Do you want to have long, lush, and curled lashes without using an eyelash curler? If you don’t have one, or you simply don’t like using one, you’re in luck. There are many ways to curl your lashes naturally with simple household items or your own fingers. In this blog post, I will show you four techniques to curl your lashes without an eyelash curler, and answer some frequently asked questions about eyelash curling.
Technique 1: Curl Your Lashes with Your Fingers
This is the easiest and quickest way to curl your lashes without any tools. All you need are your clean and warm fingers. Here are the steps to follow:
- Start with clean and bare lashes. Mascara can make your lashes stiff and hard to curl.
- Warm up your pointer fingers by blowing on them, rubbing them together, or running them under warm water for a minute. This will help your lashes hold the curl better.
- Use your pointer finger to lift your lashes up at the base of your waterline and press them against the top of your eye. Hold them there for at least 30 seconds. Repeat the process along the inner and outer corners of your eye.
- Apply one or two coats of mascara to set the curl, if desired. Use a zig-zag or wiggling motion to coat and curl each lash. Comb out any clumps with an eyelash comb.
Technique 2: Use a Spoon to Curl Your Lashes
A spoon is a common kitchen utensil that can double as an eyelash curler. The curve of the spoon matches the curve of your eyelid, making it easy to curl your lashes. Here are the steps to follow:
- Grab a clean, regular-sized dinner spoon and place it in a cup of warm water for two to three minutes. This will heat up the metal and create a curling iron-like effect.
- Dry the spoon with a towel and hold it over your eye, with the concave side facing out. Make sure the edge of the spoon is close to the base of your lashes, but not touching your skin.
- Use your thumb to gently press your lashes against the edge of the spoon and slide it upwards to curl them. Hold for a few seconds and release. Repeat until you have curled all your lashes.
- Apply one or two coats of mascara to set the curl, if desired. Use a zig-zag or wiggling motion to coat and curl each lash. Comb out any clumps with an eyelash comb.
Technique 3: Curl Your Lashes with a Cotton Swab
A cotton swab is another handy item that can help you curl your lashes without an eyelash curler. The plastic handle of the cotton swab can act as a mini curling rod for your lashes. Here are the steps to follow:
- Start with clean and bare lashes. Mascara can make your lashes stiff and hard to curl.
- Hold the plastic handle of a cotton swab horizontally along your upper lash line. Then, push it upwards to curl your lashes against your eyelid. Hold for a few seconds and release. Repeat until you have curled all your lashes.
- Apply one or two coats of mascara to set the curl, if desired. Use a zig-zag or wiggling motion to coat and curl each lash. Comb out any clumps with an eyelash comb.
Technique 4: Curl Your Lashes with a Spoolie and Aloe Vera
A spoolie is a small brush that is often used to groom eyebrows or apply mascara. You can use it to curl your lashes with the help of some aloe vera gel, which is a natural moisturizer and curl enhancer. Here are the steps to follow:
- Start with clean and bare lashes. Mascara can make your lashes stiff and hard to curl.
- Dip a clean spoolie in some aloe vera gel and brush it through your lashes, from root to tip. Make sure to coat them evenly and avoid getting any gel in your eyes.
- Use the spoolie to lift your lashes up and curl them back, as if you were using an eyelash curler. Hold for a few seconds and release. Repeat until you have curled all your lashes.
- Let the aloe vera gel dry completely before applying any mascara, if desired. Use a zig-zag or wiggling motion to coat and curl each lash. Comb out any clumps with an eyelash comb.
FAQs
Q: Why should I curl my lashes?
A: Curling your lashes can make them look longer, fuller, and more defined. It can also open up your eyes and make you look more awake and alert.
Q: How often should I curl my lashes?
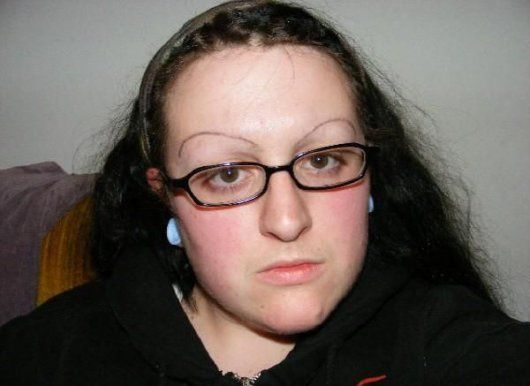
A: You can curl your lashes as often as you like, as long as you do it gently and carefully. Avoid tugging, pulling, or yanking your lashes, as this can damage them or cause them to fall out.
Q: How can I make my lash curl last longer?
A: There are a few tips to make your lash curl last longer, such as:
- Apply a waterproof or curling mascara, as these tend to hold the curl better than regular mascaras.
- Use a primer or a base coat before applying mascara, as this can help your lashes stay curled and prevent them from drooping.
- Avoid touching, rubbing, or wetting your lashes throughout the day, as this can ruin the curl and make them look messy.
- Use a setting spray or a hairspray to seal the curl, but be careful not to get any in your eyes.
Q: How can I curl my lashes without damaging them?
A: Curling your lashes without an eyelash curler is generally safer and gentler than using one, as you have more control and less pressure. However, you still need to be careful and follow some precautions, such as:
- Always start with clean and bare lashes, as mascara can make your lashes brittle and prone to breakage.
- Always use clean and sanitized tools, such as spoons, cotton swabs, or spoolies, to avoid any infections or irritations.
- Always use gentle and natural products, such as aloe vera gel, to curl your lashes, and avoid any harsh chemicals or heat sources.
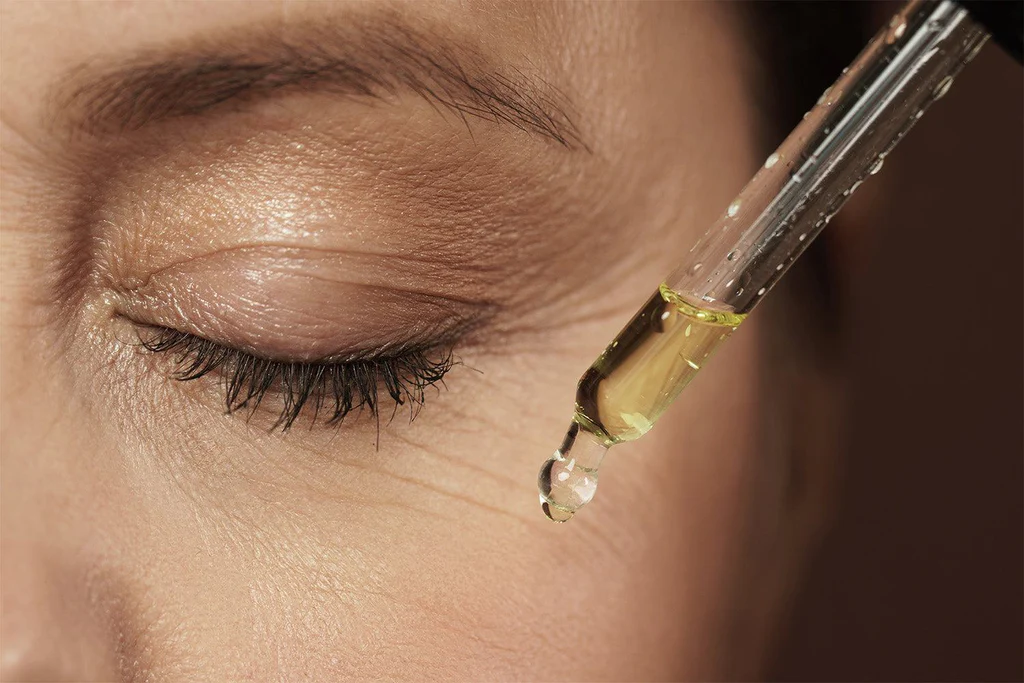
- Always moisturize and condition your lashes regularly, with products such as castor oil, coconut oil, or vitamin E oil, to keep them healthy and strong.
Conclusion
Curling your lashes without an eyelash curler is possible and easy, with these four techniques that you can try at home. You can use your fingers, a spoon, a cotton swab, or a spoolie and aloe vera gel to curl your lashes naturally and safely. Curling your lashes can enhance your beauty and make your eyes pop, without the need for any expensive or complicated tools. Try these techniques today and see the difference for yourself!
 By
Your Beauty Plug
By
Your Beauty Plug