 By
Stylist Venita
By
Stylist Venita
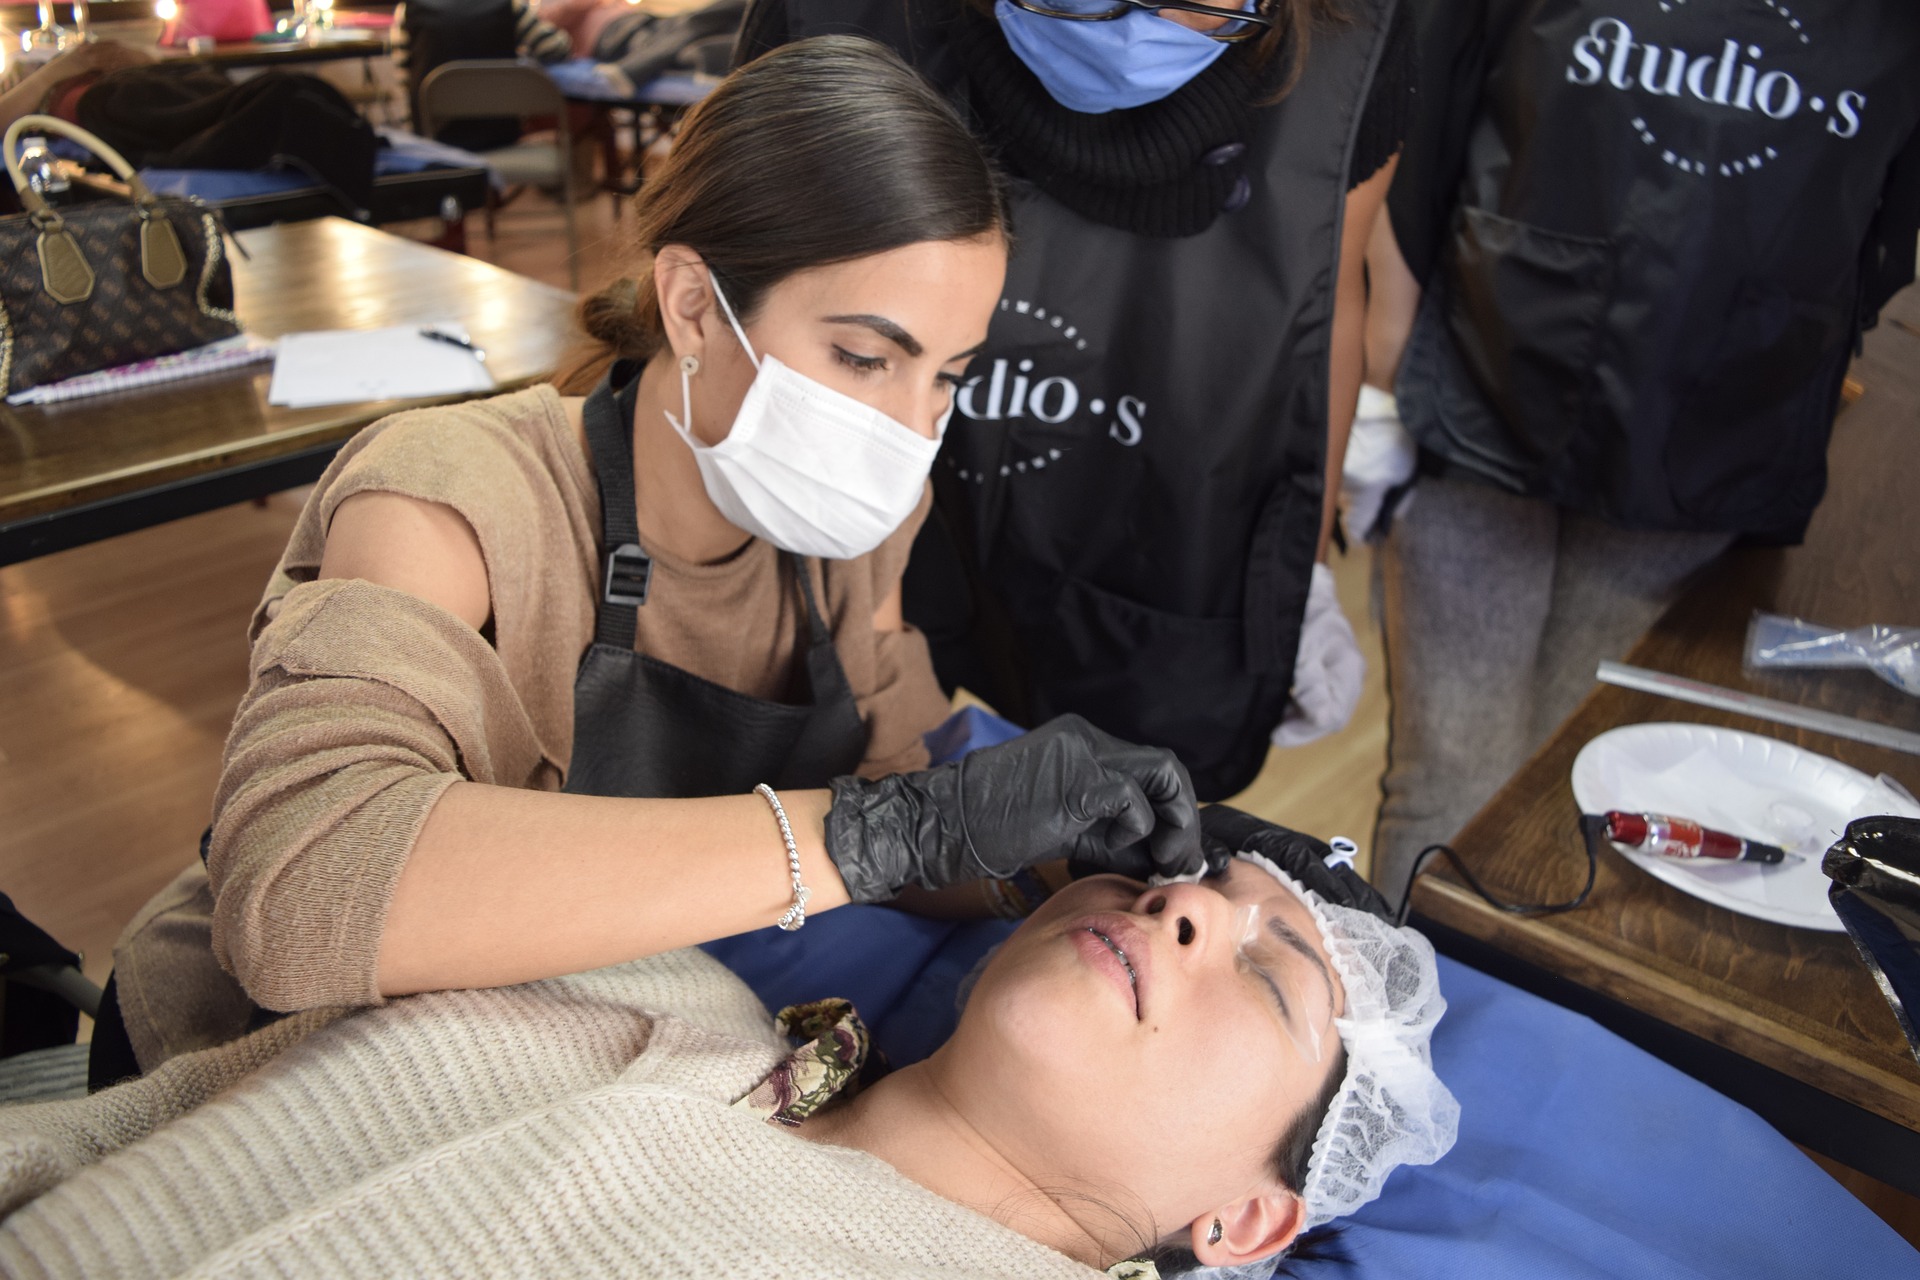
Eyebrow tinting is a beauty technique that involves coloring the eyebrows to enhance their shape and definition. It is a popular method for achieving fuller and more defined brows without the need for daily makeup application. Eyebrow tinting can be done at home using DIY kits or by professionals at salons. The process typically involves applying a semi-permanent dye to the eyebrows, which helps darken or match the natural hair color. This technique is suitable for individuals with light or sparse eyebrows who want a more prominent and polished look. Eyebrow tinting can last for several weeks, saving time on daily makeup routines and providing a convenient solution for those with busy lifestyles.
DIY eyebrow tinting offers several benefits for those who want to achieve professional-looking results at home. Firstly, it provides convenience and saves time by eliminating the need for frequent salon visits. With DIY kits, individuals can tint their eyebrows at their own pace, whenever it fits into their schedule. Secondly, it is a cost-effective alternative to salon services, allowing individuals to save money in the long run. DIY eyebrow tinting kits are typically affordable and provide multiple applications. Additionally, DIY kits offer customization options, allowing users to adjust the color intensity and achieve their desired look. They are also suitable for sensitive skin, as many kits are hypoallergenic and non-irritating. Overall, DIY eyebrow tinting offers convenience, cost savings, and the ability to achieve salon-quality results in the comfort of your own home.

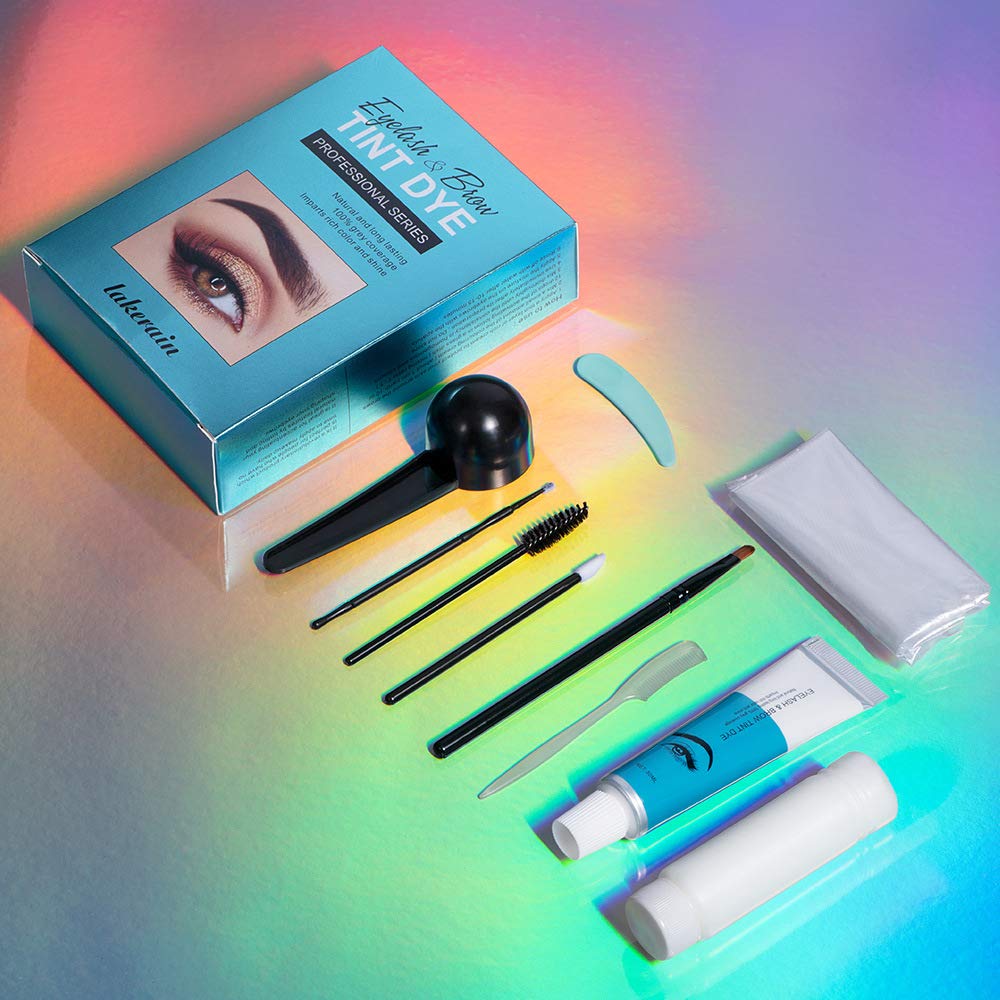
Before starting the DIY eyebrow tinting process, it is essential to gather all the necessary supplies. Here are the items you will need:1. DIY Eyebrow Tinting Kit: Look for a kit that includes an eyebrow tint, developer, applicator brush, and mixing dish. The ELCOHO’s Instant Eyebrow Tinting Kit (ASIN: B0CN2HGCV8) is a great option as it offers long-lasting, waterproof, and sweatproof results.2. Petroleum Jelly or Barrier Cream: Apply a thin layer of petroleum jelly or barrier cream around your eyebrows to protect the surrounding skin from staining.3. Cotton Pads or Q-tips: These will come in handy for any clean-up or corrections during the tinting process.4. Timer: Make sure you have a timer or a clock nearby to keep track of the tinting time.5. Disposable Gloves: Protect your hands by wearing disposable gloves throughout the process.
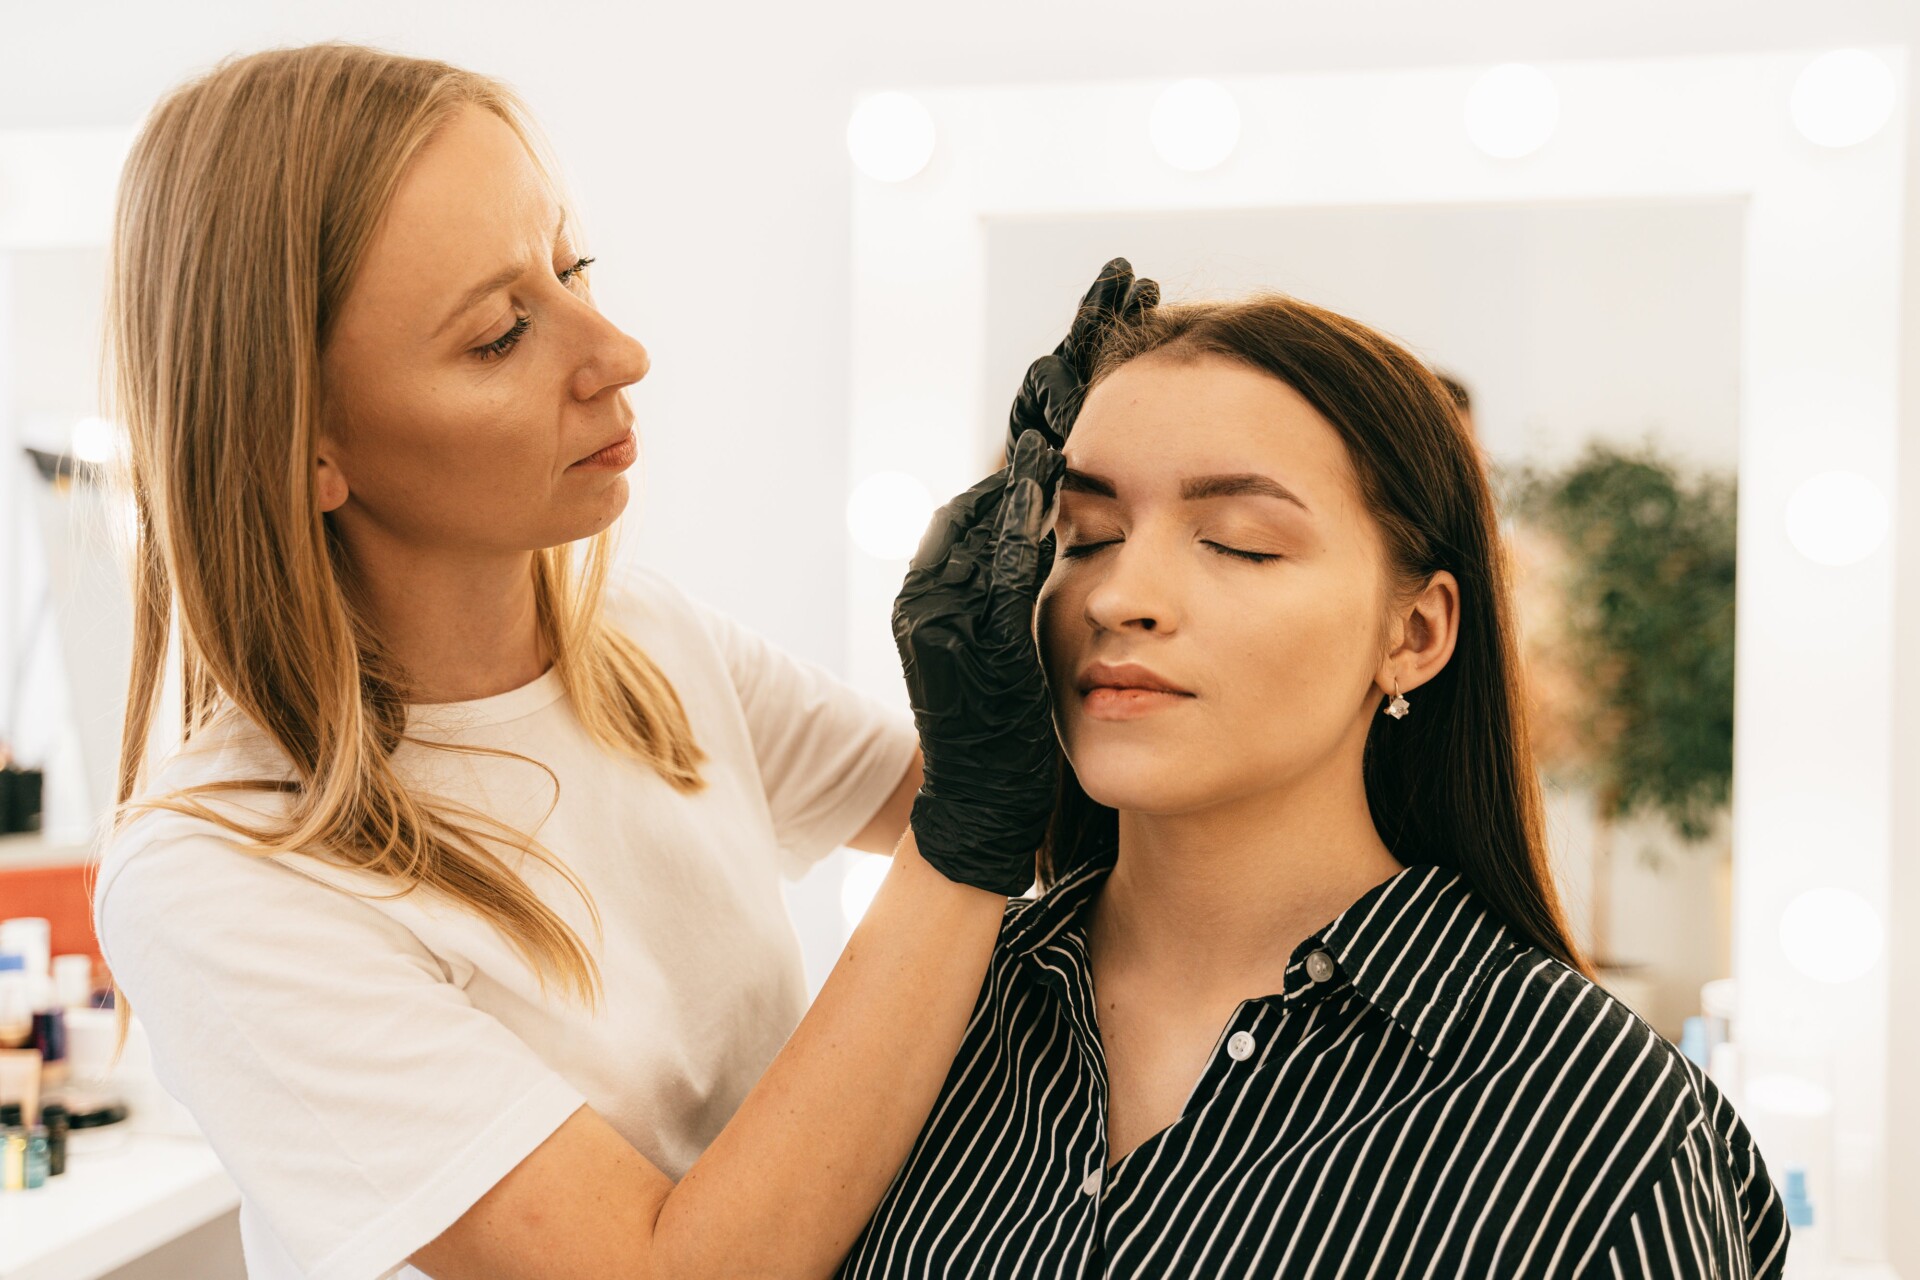
Before applying the eyebrow tint, it is crucial to perform a patch test and prepare your skin. Follow these steps:1. Patch Test: Apply a small amount of the eyebrow tint mixture on a small area of your skin, preferably behind your ear or inner elbow. Leave it on for the recommended time and check for any adverse reactions, such as redness or irritation. The Spot Color Henna Kit (ASIN: B08XJ1F19T) is a suitable option for this step.2. Cleanse and Exfoliate: Thoroughly cleanse your eyebrow area to remove any dirt, oil, or makeup. Exfoliate gently to ensure a smooth surface for the tint to adhere to.3. Protect the Surrounding Skin: Apply petroleum jelly or barrier cream around your eyebrows, ensuring that only the hairs are exposed.4. Mix the Tint: Follow the instructions provided with your DIY eyebrow tinting kit to mix the tint and developer in the provided mixing dish.
Remember to always read and follow the instructions that come with your chosen DIY eyebrow tinting kit. With the right supplies and proper preparation, you can achieve salon-quality results right at home.
When it comes to DIY eyebrow tinting, it’s important to understand the different tint options available. There are various products on the market, such as gels, creams, and henna-based kits. Each option offers unique benefits and results.
Gel-based tints are popular due to their ease of use and quick drying time. They typically come with an applicator wand, making it simple to apply the tint evenly to your eyebrows. Cream-based tints, on the other hand, provide a more natural look and are often water-resistant, ensuring long-lasting results. Henna-based kits are a great option for those looking for a natural and organic alternative. Henna tints are derived from plants and can provide a semi-permanent tint that lasts for several weeks.
Choosing the right shade for your eyebrows is crucial in achieving a natural and flattering look. When selecting a tint color, consider your hair color, skin tone, and personal preference.
For blondes or those with light hair, a light brown or taupe shade is generally suitable. Brunettes can opt for darker brown shades, while individuals with black hair can choose a deep brown or black shade. If you have red hair, consider a warm brown or auburn shade.
It’s important to note that when in doubt, it’s better to go for a shade that is slightly lighter than your natural hair color. This will prevent your eyebrows from looking too harsh or overpowering. Additionally, consider your skin tone – cooler undertones may benefit from ashy or cool brown shades, while warmer undertones may prefer warmer or reddish tones.

Before starting the DIY eyebrow tinting process, it is crucial to clean and shape your eyebrows properly. Begin by washing your face with a gentle cleanser to remove any dirt or oils. Next, use a spoolie brush or clean mascara wand to comb your eyebrows in the direction of hair growth. This will help you see the natural shape of your brows and identify any stray hairs that need to be removed. Use tweezers or eyebrow scissors to pluck or trim any unwanted hairs. Remember to only remove hairs that fall outside your desired brow shape. Once you have cleaned and shaped your eyebrows, use a clean cotton pad to gently wipe away any excess oils or residue.
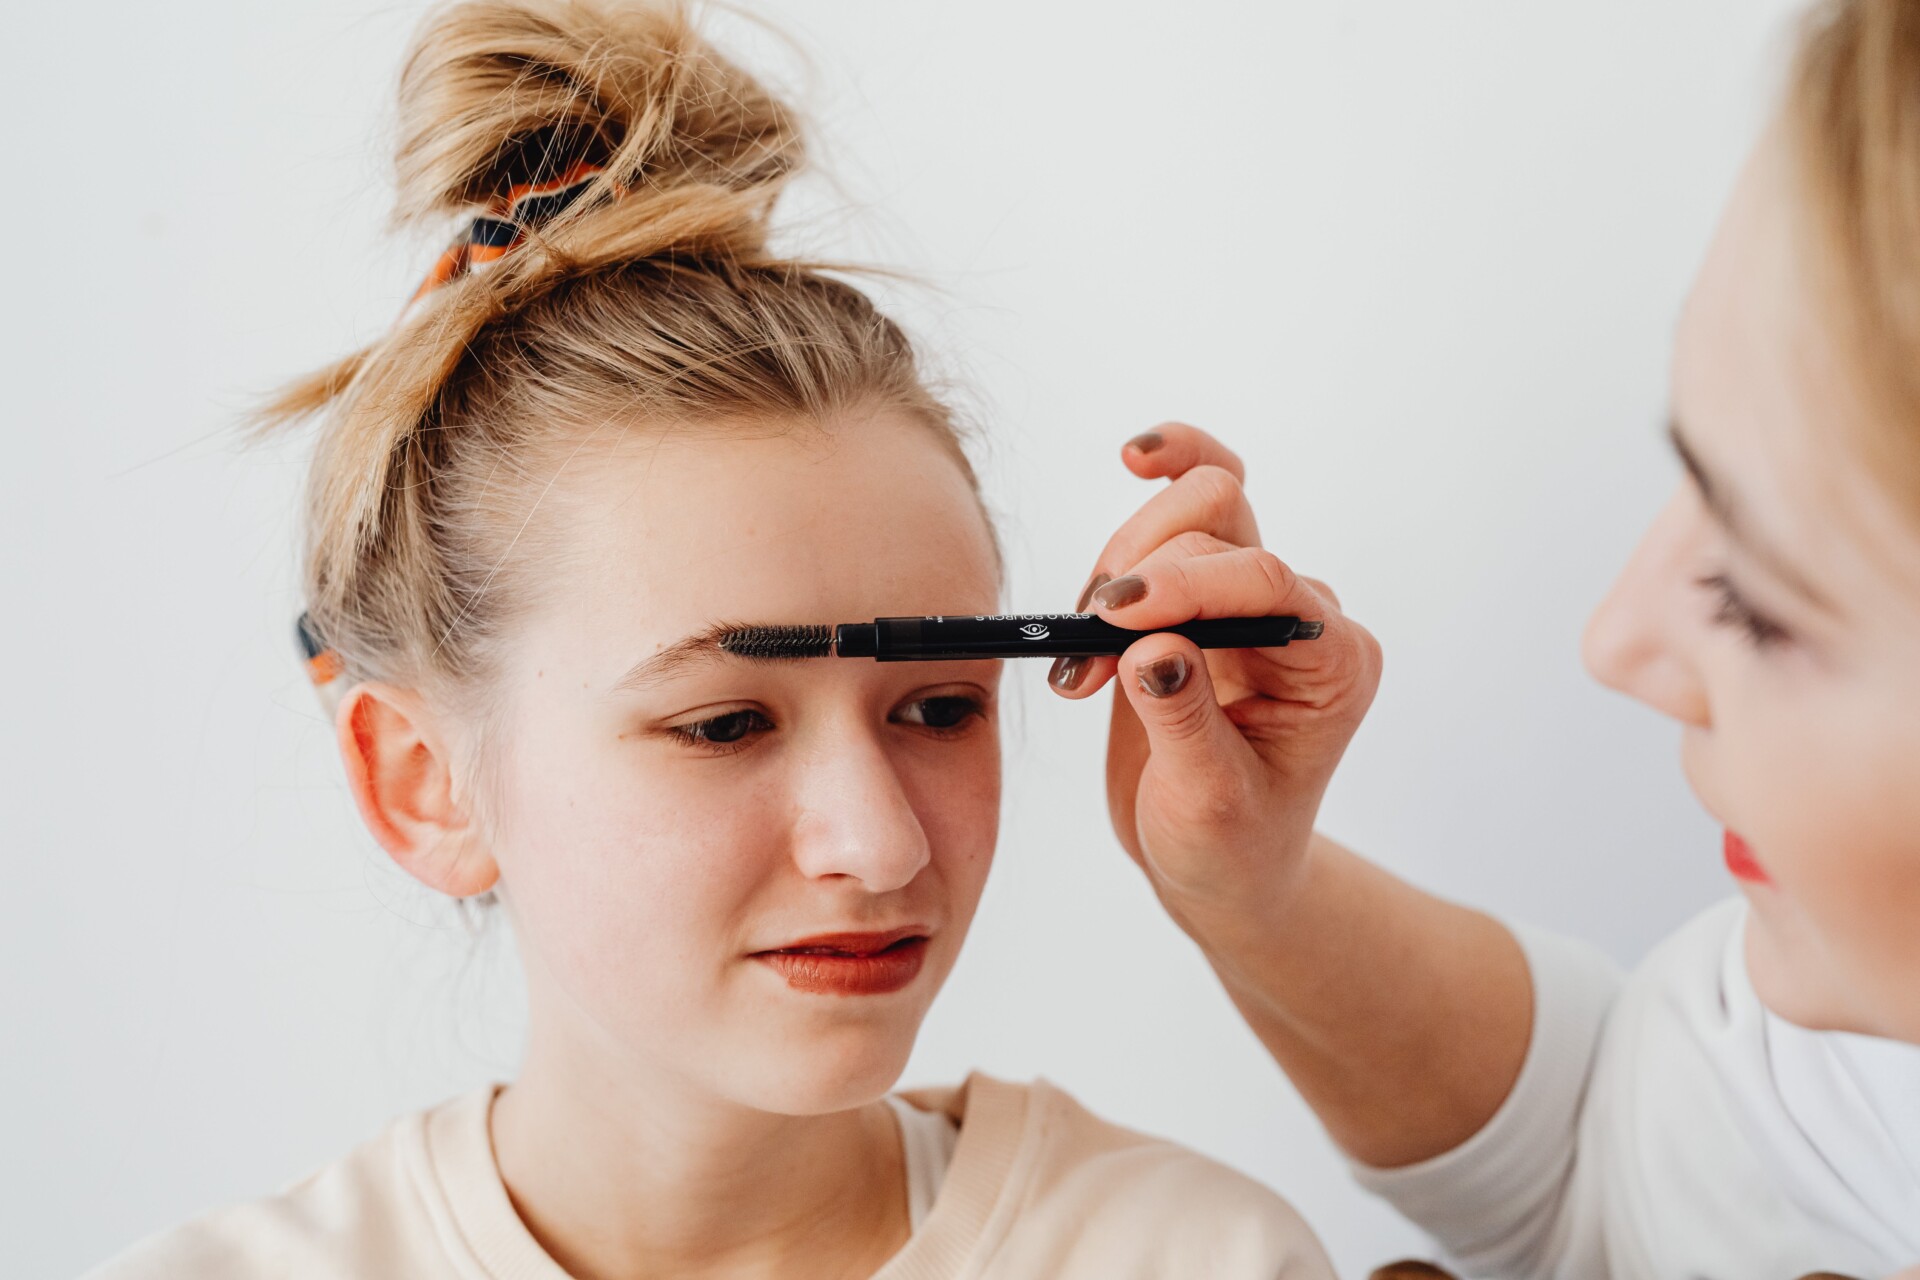
Mixing and applying the tint is the next step in DIY eyebrow tinting. Start by preparing the tint according to the instructions provided with the product. It is important to follow the instructions carefully to ensure the desired color intensity and longevity. Once the tint is mixed, take a small amount on an angled eyebrow brush or a clean cotton swab. Begin applying the tint to your eyebrows, starting from the inner corner and working towards the outer corner. Fill in any sparse areas and define the shape of your brows. Be careful not to apply too much tint, as it can result in unnatural-looking brows. Allow the tint to develop for the recommended time specified in the instructions. Once the development time is up, gently remove the tint using a damp cotton pad or cloth. Voila! You now have beautifully tinted eyebrows that will enhance your overall look.
When it comes to DIY eyebrow tinting, avoiding common mistakes is crucial for achieving the desired results. One of the most common mistakes is leaving the tint on for too long. It is essential to follow the recommended timing mentioned in the product instructions as leaving the tint on for longer can result in overly dark and unnatural-looking eyebrows.
Another mistake to avoid is not properly preparing the eyebrows before applying the tint. Make sure to cleanse your eyebrows thoroughly and remove any makeup or oils. This will ensure that the tint adheres evenly and lasts longer.
Additionally, applying the tint haphazardly can lead to uneven or patchy results. It is important to use precise strokes and follow the natural shape of your eyebrows. Utilizing a small angled brush can help in achieving neat and defined brows.
Once you have successfully tinted your eyebrows, it is important to maintain and extend the longevity of your tint. One way to do this is by avoiding excessive exposure to water and harsh cleansers. When cleansing your face, gently pat your eyebrows dry instead of rubbing them vigorously.
To further extend the life of your tint, avoid using oil-based products on your eyebrows. Oil can break down the tint and cause it to fade faster. Instead, opt for eyebrow gels or powders that are specifically formulated for use with tinted eyebrows.
Regularly moisturizing your eyebrows can also help in preserving the tint. Use a lightweight, oil-free eyebrow serum or gel to keep your brows hydrated without compromising the tint’s longevity.
By following these tips and tricks, you can ensure that your DIY eyebrow tinting experience is a success. Remember to be patient, practice precision, and take care of your tinted eyebrows for long-lasting, salon-quality results.

If you have sensitive skin, you may be hesitant to try DIY eyebrow tinting. However, with a few precautions, it is possible to tint your eyebrows even if you have sensitive skin. Before starting the tinting process, it is crucial to perform a patch test to check for any adverse reactions. Apply a small amount of the tint mixture to a small area on your arm and wait for 24 hours to see if there is any irritation. If there are no negative reactions, you can proceed with tinting your eyebrows.
To minimize the risk of irritation, opt for a gentle and hypoallergenic eyebrow tint specifically formulated for sensitive skin. Avoid using products that contain harsh chemicals or ingredients known to cause skin sensitivity. Additionally, make sure to follow the instructions carefully and avoid leaving the tint on for longer than recommended. After tinting, apply a soothing and moisturizing balm to alleviate any potential discomfort and keep your brows hydrated.
The frequency at which you should redo your eyebrow tint largely depends on personal preference and how quickly your eyebrow hair grows. On average, eyebrow tinting can last anywhere from two to six weeks. However, factors such as exposure to sunlight, skincare products, and cleansing routines can affect the longevity of the tint.
If you prefer a more defined and intense look, you may need to redo your eyebrow tint more frequently. On the other hand, if you prefer a softer and more natural look, you can wait longer between touch-ups. It is important to note that as the tint fades, the color may become less vibrant and uniform.
To maintain the tinted appearance, consider using a brow gel or pencil in between tinting sessions to fill in any areas where the color has faded. Regularly grooming and shaping your eyebrows can also help to keep them looking fresh. Remember to remove any brow makeup gently to avoid prematurely stripping away the tint.
Ultimately, the decision of how often to redo your eyebrow tint is subjective and depends on your desired look and preferences.